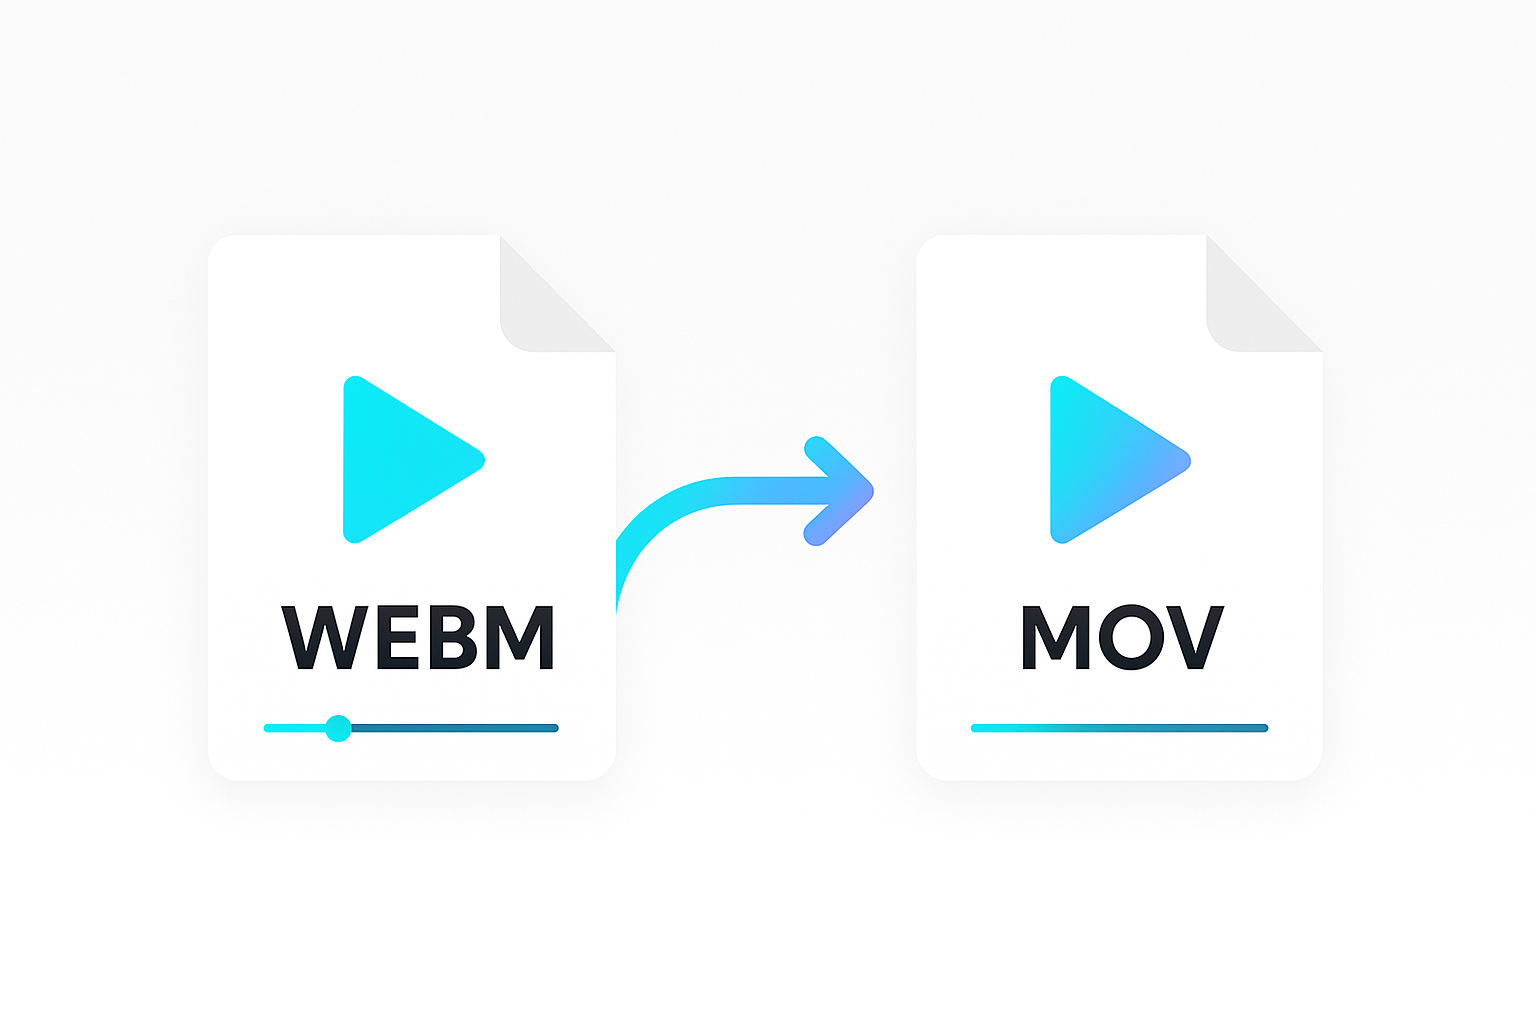
MP4 and MP3 are popular video and audio file formats. Sometimes, you may need to extract the audio from an MP4 file and convert it into an MP3 file for compatibility or editing purposes.
FFmpeg is a powerful tool to do this, but it can be intimidating for non-technical users. An easier solution is to use Shotstack, a cloud-based video editing API, and PHP, a popular scripting language.
With Shotstack and PHP, you can create a simple web application to upload an MP4 video file and convert it into an MP3 file programmatically.
This tutorial will teach you how to do this, providing a great starting point for creating your own media app.
This tutorial has two parts:
- Converting a single MP4 file to MP3
- Converting a list of MP4 files to MP3
The Shotstack API and SDK
Shotstack is a cloud-based video editing API. Editing and creating videos on a large scale takes a lot of resources and can take hours. However, Shotstack’s rendering infrastructure simplifies the development and scaling of media applications.
Install and set up the Shotstack PHP SDK
You need to have PHP 7.3+ and the Shotstack SDK for PHP. PHP should be available on your path, you can check it is installed correctly using php --version.
The recommended way to use install the SDK is using composer. Install the Shotstack PHP video editor SDK using the following command:
composer require shotstack/shotstack-sdk-php
Converting a single MP4 file to MP3
Make a PHP script that converts an MP4 to an MP3
Use your preferred IDE or text editor for this tutorial to create a PHP script called mp4-to-mp3.php. Then, select the file and begin editing it.
Import the required modules
Let’s import the required SDK modules for the project from the Shotstack SDK, as shown below:
<?php
require 'vendor/autoload.php';

use Shotstack\Client\Api\EditApi;
use Shotstack\Client\ApiException;
use Shotstack\Client\Configuration;
use Shotstack\Client\Model\Edit;
use Shotstack\Client\Model\Output;
use Shotstack\Client\Model\Timeline;
use Shotstack\Client\Model\Track;
use Shotstack\Client\Model\Clip;
use Shotstack\Client\Model\VideoAsset;
?>
Set up the API client
Next, set up the client with the API URL and key.
$config = Configuration::getDefaultConfiguration()
    ->setHost('https://api.shotstack.io/stage')
    ->setApiKey('x-api-key', 'your_key_here'); // use the API key issued to you

$client = new EditApi(null, $config);
Replace ‘your_key_here’ with the sandbox API key provided, which is free for testing and development.
Understanding the timeline architecture
The Shotstack API follows many desktop editing software principles, such as using a timeline, tracks, and clips. A timeline acts as a container for multiple tracks, each of which contains multiple clips that play over time.
Setting up the MP4 video track
The video must be hosted somewhere accessible via a public or signed URL. We will use the following transcription example video from this AWS transcription tutorial. You can replace it with your own video url if you have one.
Next, add the code below to create a VideoAsset using the video URL:
$videoAsset = new VideoAsset();
$videoAsset
    ->setSrc('https://d1uej6xx5jo4cd.cloudfront.net/scott-ko-w-captions.mp4');
A clip is used to manage different asset types such as video, images and audio files. We can customize attributes such as length and start time. The variable videoClip below will add the ‘videoAsset’ to the timeline at second 0 using setStart and play for 25 seconds using setLength:
$videoClip = new Clip();
$videoClip
    ->setAsset($videoAsset)
    ->setLength(25)
    ->setStart(0);
Adding a video clip to the timeline
Now, let’s create a timeline, like a container for multiple video clips that play over time. Tracks on the timeline allow us to layer clips over each other. Let’s add the videoClip in the track and then place the track on to the timeline.
$track = new Track();
$track->setClips([$videoClip]);

$timeline = new Timeline();
$timeline->setTracks([$track]);
Configuring the final output
Next, we need to configure the output. To convert to an MP3, let’s set the file type using setFormat to mp3 and setResolution to preview. The preview resolution only affects video so we can use the lowest resolution available.
$output = new Output();
$output
    ->setFormat('mp3')
    ->setResolution('preview');

$edit = new Edit();
$edit
    ->setTimeline($timeline)
    ->setOutput($output);
Send the edit for processing and rendering
Finally, let’s use the API to send the edit for processing and rendering. The Shotstack SDK converts our objects to JSON and adds our key to the request header before sending everything to the API.
try {
    $response = $client->postRender($edit)->getResponse();
} catch (ApiException $e) {
    die('Request failed: ' . $e->getMessage() . $e->getResponseBody());
}

echo $response->getMessage() . "\n";
echo ">> render id: " . $response->getId() . "\n";
The final MP4 to MP3 PHP script
Below is the completed PHP script:
<?php
require 'vendor/autoload.php';

use Shotstack\Client\Api\EditApi;
use Shotstack\Client\ApiException;
use Shotstack\Client\Configuration;
use Shotstack\Client\Model\Edit;
use Shotstack\Client\Model\Output;
use Shotstack\Client\Model\Timeline;
use Shotstack\Client\Model\Track;
use Shotstack\Client\Model\Clip;
use Shotstack\Client\Model\VideoAsset;

$config = Configuration::getDefaultConfiguration()
    ->setHost('https://api.shotstack.io/stage')
    ->setApiKey('x-api-key', 'your_key_here'); // use the API key issued to you

$client = new EditApi(null, $config);

$videoAsset = new VideoAsset();
$videoAsset
    ->setSrc('https://d1uej6xx5jo4cd.cloudfront.net/scott-ko-w-captions.mp4');

$videoClip = new Clip();
$videoClip
    ->setAsset($videoAsset)
    ->setLength(25)
    ->setStart(0);

$track = new Track();
$track->setClips([$videoClip]);

$timeline = new Timeline();
$timeline->setTracks([$track]);

$output = new Output();
$output
    ->setFormat('mp3')
    ->setResolution('preview');

$edit = new Edit();
$edit
    ->setTimeline($timeline)
    ->setOutput($output);

try {
    $response = $client->postRender($edit)->getResponse();
} catch (ApiException $e) {
    die('Request failed: ' . $e->getMessage() . $e->getResponseBody());
}

echo $response->getMessage() . "\n";
echo ">> render id " . $response->getId() . "\n";
Running the script
Run the script using php from the command line:
php mp4-to-mp3.php
The API will return the render id if the render request is successful, we need the render id to check the render status in the next step.
Checking the render status and the output URL
The rendering process occurs in the background and may take several seconds. As a result, we will need another short script to check the render status endpoint.
Create a file called status.php and paste the following:
<?php
require 'vendor/autoload.php';

use Shotstack\Client\Api\EditApi;
use Shotstack\Client\Configuration;

$config = Configuration::getDefaultConfiguration()
    ->setHost('https://api.shotstack.io/stage')
    ->setApiKey('x-api-key', 'your_key_here'); // use the API key issued to you

$client = new EditApi(null, $config);
$response = $client->getRender($argv[1], false, true)->getResponse();

echo "\nStatus: " . $response->getStatus() . "\n\n";

if ($response->getStatus() == 'done') {
    echo ">> Asset URL: " . $response->getUrl() . "\n";
}
Then run the script using the same method mentioned below:
php status.php {renderId}
Replace {renderId} with the render id returned from the mp4-to-mp3.php script.
Re-run the status.php script every 4-5 seconds until the status is done and a URL is returned. If an error occurs, the status will return as failed.
If everything ran successfully, you should now have the URL of the final video, similar to the one in the example below.
Example of a rendered MP3
The final rendered MP3 is ready to be hosted or transferred to your application:
Converting a list of MP4 videos to MP3 audio
As you can see, creating an MP3 file from an MP4 video is very simple. One advantage of using the Shotstack API is how seamlessly it scales this process without worrying about the rendering infrastructure.
Now, we will convert a list of MP4 files to MP3 to demonstrate the scalability. First, create a CSV file called mp4.csv in the current working folder. Then paste the video url under the url column and the length for each video under the length column. Each video requires its length because video length varies.
url,length
https://d1uej6xx5jo4cd.cloudfront.net/slideshow-with-audio.mp4,35.0
https://cdn.shotstack.io/au/v1/msgtwx8iw6/d724e03c-1c4f-4ffa-805a-a47aab70a28f.mp4,13.0
https://cdn.shotstack.io/au/v1/msgtwx8iw6/b03c7b50-07f3-4463-992b-f5241ea15c18.mp4,36.0
https://cdn.shotstack.io/au/stage/c9npc4w5c4/d2552fc9-f05a-4e89-9749-a87d9a1ae9aa.mp4,12.0
https://cdn.shotstack.io/au/v1/msgtwx8iw6/c900a02f-e008-4c37-969f-7c9578279100.mp4,29.0
You can also use Shotstack’s probe endpoint to inspect media assets to retrieve metadata of each video. The metadata will respond to information such as width, height, duration, and framerate. You can write a script to retrieve the video length automatically. For the sake of simplicity, we have manually added the csv column to ‘mp4.csv.’
Create a new file called mp4-to-mp3-csv.php and use the built-in csv module in PHP. Next, paste the following script, and save it.
<?php
require 'vendor/autoload.php';

use Shotstack\Client\Api\EditApi;
use Shotstack\Client\Configuration;
use Shotstack\Client\Model\Edit;
use Shotstack\Client\Model\Output;
use Shotstack\Client\Model\Timeline;
use Shotstack\Client\Model\Track;
use Shotstack\Client\Model\Clip;
use Shotstack\Client\Model\VideoAsset;

$config = Configuration::getDefaultConfiguration()
    ->setHost('https://api.shotstack.io/stage')
    ->setApiKey('x-api-key', 'your_key_here'); // use the API key issued to you

$client = new EditApi(null, $config);
$file = fopen("mp4.csv","r");

while (($data = fgetcsv($file)) !== false)
{
    $videoAsset = new VideoAsset();
    $videoAsset
        ->setSrc($data[0]);

    $videoClip = new Clip();
    $videoClip
        ->setAsset($videoAsset)
        ->setLength($data[1])
        ->setStart(0);

    $track = new Track();
    $track->setClips([$videoClip]);

    $timeline = new Timeline();
    $timeline->setTracks([$track]);

    $output = new Output();
    $output
        ->setFormat('mp3')
        ->setResolution('preview');

    $edit = new Edit();
    $edit
        ->setTimeline($timeline)
        ->setOutput($output);

    try {
        $response = $client->postRender($edit)->getResponse();
    } catch (ApiException $e) {
        die('Request failed: ' . $e->getMessage() . $e->getResponseBody());
    }

    echo $response->getMessage() . "\n";
    echo ">> render id " . $response->getId() . "\n";
}
?>
Run the script using the following command:
php mp4-to-mp3-csv.php
The script will parse the CSV file and submit a render for each row. If each render request is successful, the API will return the ‘render id’, which we’ll use to retrieve the render status.
To check the render status of each render, run the status.php file we created previously and pass each render id as a parameter in place of {renderId}.
php status.php {renderId}
Repeat the process until all the renders are complete. In a real world application you can using polling or webhooks to the status of each render. In this simple tutorial you will however need to manually check each render status.
Final thoughts
As a PHP developer, utilizing the Shotstack video editing API to convert MP4 files to MP3 programmatically can greatly benefit your workflow. This tutorial provides you with a solid foundation to begin using the API and start taking advantage of its capabilities.
With Shotstack, you can streamline your video editing process and efficiently convert files without the need for complex software or manual conversion. This API allows you to automate the conversion process, which saves you time and effort, allowing you to focus on other aspects of your project.
Get started with Shotstack's video editing API in two steps:
- Sign up for free to get your API key.
- Send an API request to create your video:
curl --request POST 'https://api.shotstack.io/v1/render' \
--header 'x-api-key: YOUR_API_KEY' \
--data-raw '{
  "timeline": {
    "tracks": [
      {
        "clips": [
          {
            "asset": {
              "type": "video",
              "src": "https://shotstack-assets.s3.amazonaws.com/footage/beach-overhead.mp4"
            },
            "start": 0,
            "length": "auto"
          }
        ]
      }
    ]
  },
  "output": {
    "format": "mp4",
    "size": {
      "width": 1280,
      "height": 720
    }
  }
}'


Experience Shotstack for yourself.
- Seamless integration
- Dependable high-volume scaling
- Blazing fast rendering
- Save thousands