In this article we'll show you how to use Zapier to automatically build a video slideshow from Google Forms and upload it to YouTube.
Before we get started please add the Shotstack Zapier app to your Zapier account. This provides you with access to all Shotstack modules you need to build your automated video slideshow workflow.
Please note that the Shotstack Zapier integration is still in beta. This means that some functionality may not work as expected and that particular modules may not be available in future releases. We would love to hear your experience using our Zapier integration and any ideas you have for other functionalities.
How will this work
We will be using Zapier. Zapier is an automation tool that allows you to build workflows that don't require any code. In this example we'll show you how you can use Zapier to build video slideshows from images uploaded using a Google Form, which are subsequently uploaded to YouTube.
Configuring Google Forms
Go to Google Forms and create a form with a File upload field. Make sure to only allow for images to be uploaded, set the maximum number of files to 5 and make it a required field.
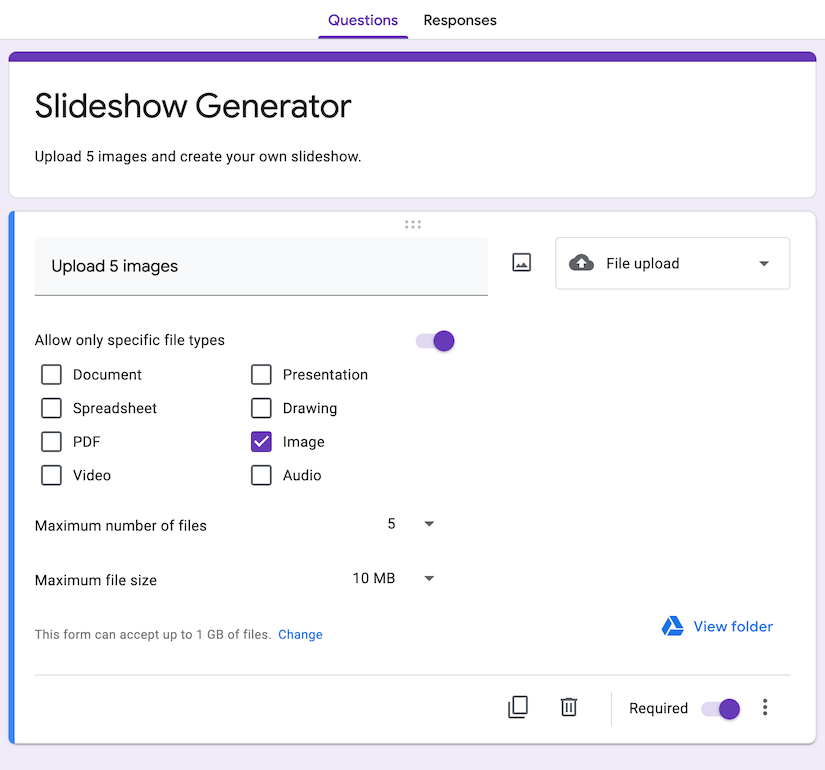
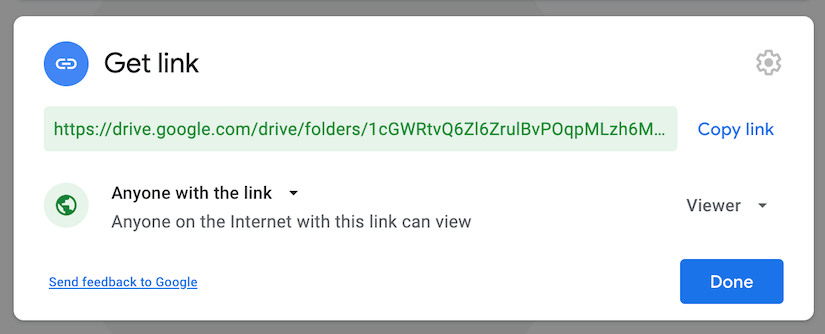
Shotstack requires your files to be publicly accessible. By default Google Forms creates a folder that only you can access. You can change this by changing by clicking on the View folder link and changing the permissions on the folder to allow files to be viewed by Anyone with the link.
Create a Shotstack account
Make sure you've signed up for a free Shotstack account. The free account provides you with 20 minutes of video every month. Enough to build multiple slideshows.
Building the Zap
After having added the Shotstack integration to your Zapier apps go ahead and create a new Zap.
Google Forms module
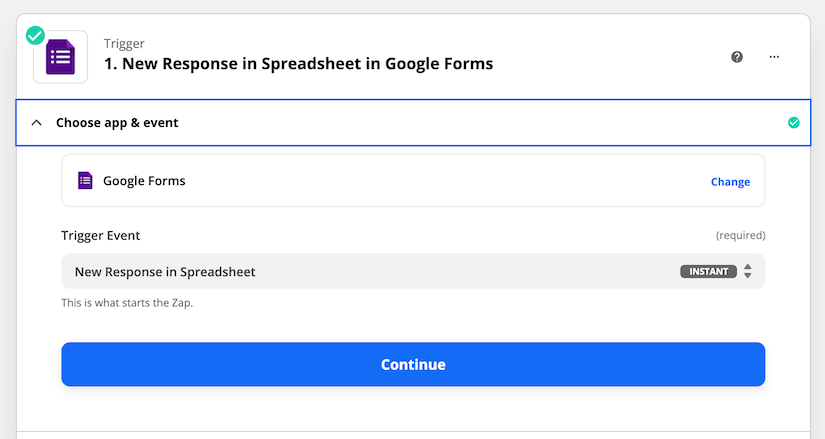
We'll start off by creating a trigger to execute our Zap every time someone fills out the Google Form and uploads 5 images. This provides us with all the image links that were uploaded via the form.
Split Text module
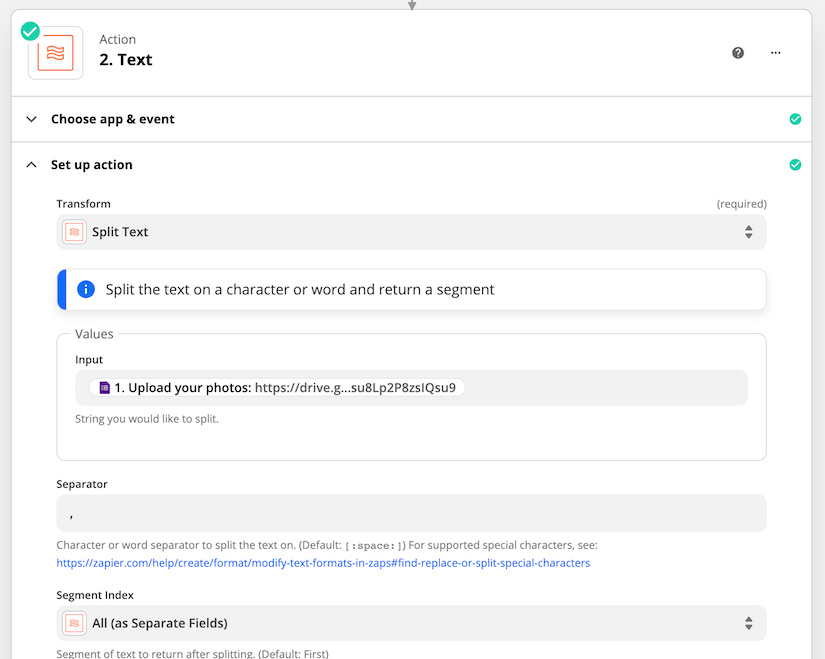
Because Google Forms provides you with the links in one long comma separated string we will need to extract the individual urls to use for our slideshow. We do this by adding a Split Text formatter to extract the links. Use a comma , as the separator.
Make sure you select the variable with the urls from the Google Forms module and select All (as Separate Fields) under the Segment Index option to turn the links into individual options we can select later when building our video slideshow.
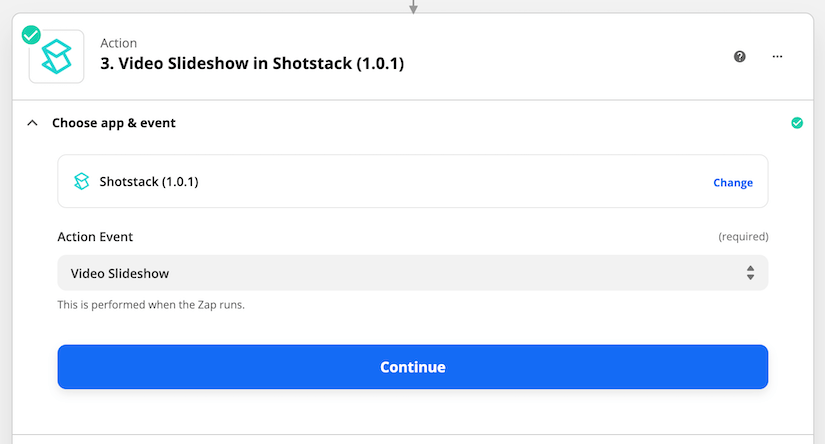
Video Slideshow module
Add the Shotstack Video Slideshow module as the next step of your Zap, and connect your Shotstack account.
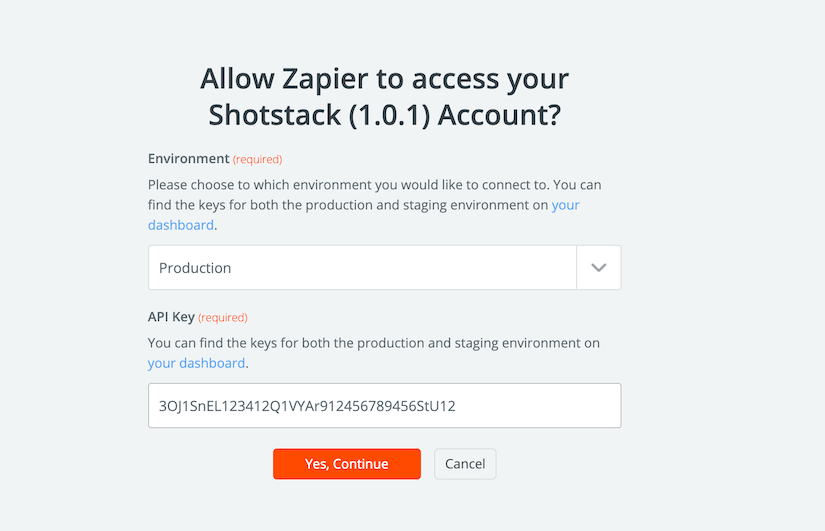
Your Shotstack account comes with two keys, which can be accessed via your dashboard. As we want to create video slideshows without a watermark we'll go ahead and add our Production key.
Set up the action by adding the individual urls to the image url fields. Then decide how long you want your images to show, what resolution your video should be in and what type of transition to use between images.
Pro tip: Set up the Zap with 10 image fields (the max amount of files allowed to be uploaded by Google Forms), even if you are going to be using less than 10 images. Zapier will skip all the image fields that do not have a value. You can do the same for other modules and add a maximum amount of image fields based on the maximum amount of images you want to allow in your slideshow. 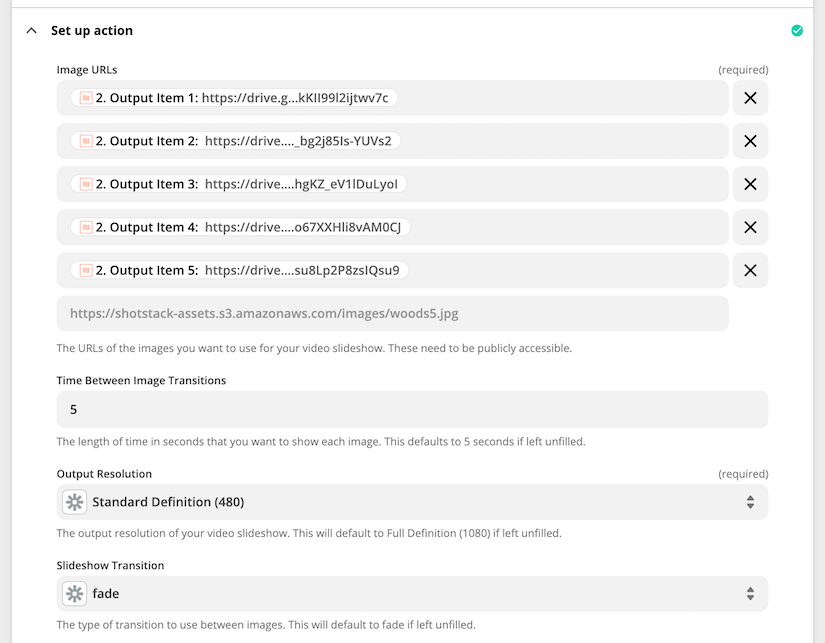
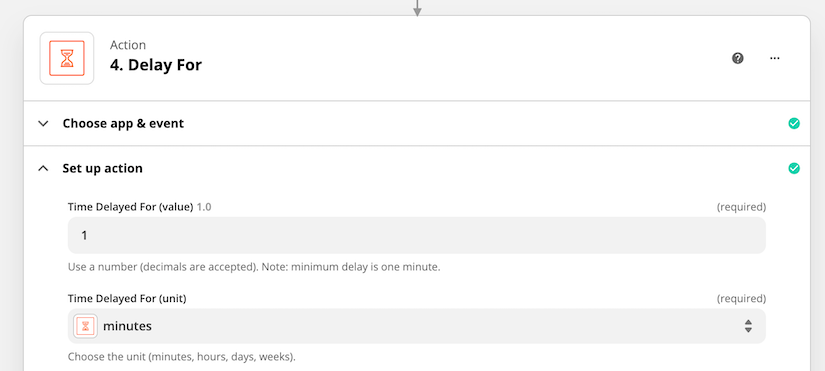
Delay module
For this example we want to keep everything together in the same Zap. So instead of using a callback we'll build in a delay and retrieve the status of our video slideshow. We'll set it up to only delay the Zap for a minute as our example slideshow video will take less than 10 seconds to complete.
Poll Render Status module
As a last step we'll add in the Poll Render Status module, which will provide you with the status of the video slideshow and provide you with the link to the video when completed. 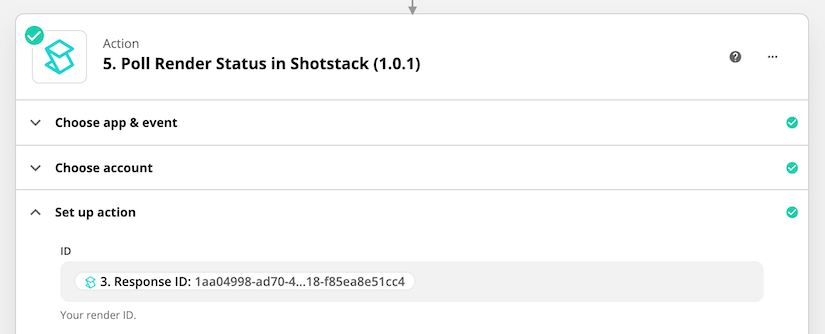
YouTube module
Your video is already available via high performance hosting and you can directly use the link provided in the prior module, but if you want to use another provider such as YouTube to share your video you can use the YouTube module to upload your video to your channel. 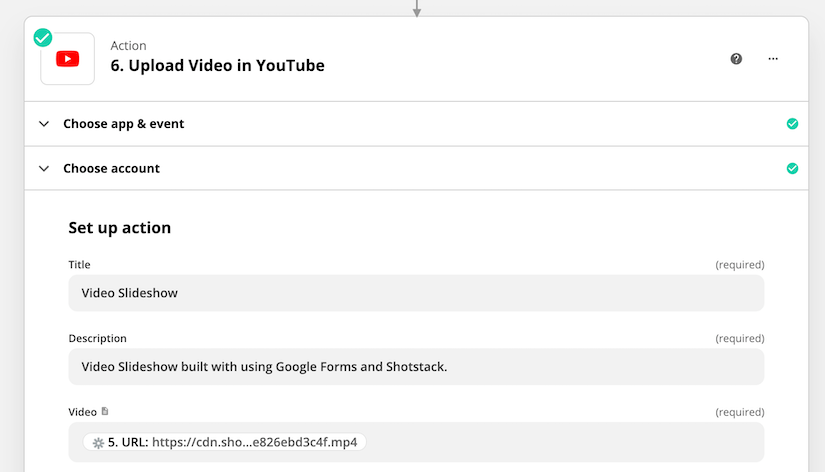
Automated video slideshow
Congratulations. You've built yourself an automated video slideshow workflow that takes uploaded images from Google Forms, transforms them into a video slideshow using Shotstack and then uploads it to YouTube when it's done. All in one Zap!
Pro Tip: If you are looking build even more impressive video slideshows add a soundtrack module to your Zap.
Get started with Shotstack's video editing API in two steps:
- Sign up for free to get your API key.
- Send an API request to create your video:
curl --request POST 'https://api.shotstack.io/v1/render' \
--header 'x-api-key: YOUR_API_KEY' \
--data-raw '{
  "timeline": {
    "tracks": [
      {
        "clips": [
          {
            "asset": {
              "type": "video",
              "src": "https://shotstack-assets.s3.amazonaws.com/footage/beach-overhead.mp4"
            },
            "start": 0,
            "length": "auto"
          }
        ]
      }
    ]
  },
  "output": {
    "format": "mp4",
    "size": {
      "width": 1280,
      "height": 720
    }
  }
}'


Experience Shotstack for yourself.
- Seamless integration
- Dependable high-volume scaling
- Blazing fast rendering
- Save thousands


