Creating YouTube videos involves more than just recording and editing videos. There’s a lot that happens before and after you hit the publish button. From idea generation and scripting, to recording, editing videos, creating thumbnails, and more.
A single video can take days or weeks to finish depending on the length and scope. But thanks to various artificial intelligence (AI) tools, this shouldn’t always be the case. In this article, you will learn about YouTube automation and how to make the most of it.
What is YouTube automation?
YouTube automation involves finding ways to speed up the content creation process for a YouTube channel at an affordable price. This involves using various AI tools for different tasks. Or outsourcing tasks like writing scripts, recording voice overs, editing videos, and others to freelancers.
YouTube automation typically focuses on finding a niche category and creating content at scale for that audience. The goal of creators using YouTube automation is to build up an audience and generate passive income from ad revenue. It is important that they can create a large volume of content at a lower cost than the revenue they generate from ads.
How to automate YouTube video creation using AI tools
In this tutorial, we’ll focus on using various AI tools to automate different aspects of the content creation process.
The following is a breakdown of some of the tasks involved in creating content for a YouTube channel. We’ll tackle each and see how we can use different AI tools to automate the tasks.
Getting ideas using ChatGPT
Before you even start working on your videos, you need ideas. It’s a good to have some kind of an idea bank. That way when you’re done with a video, you won’t need to wait for long to start work on the next one.
Most creators want to post consistently on YouTube. But, a common challenge is a lack of ideas on what to post. A tool like ChatGPT can help you come up with a list of ideas.
Give ChatGPT a prompt to suggest video ideas relevant to your niche. Go through the list it gives you. Research and see which ones have the potential to perform well.
Generating a script using ChatGPT
You can also use ChatGPT to create a script for your video. The script is the foundation of your video. It’s from the script that you will generate a voice over and the images and footage you will use to create the video.
Be sure to include in your prompt things like the length of the video, your target audience, the tone, etc. Also, if you are not okay with the initial script, you can ask ChatGPT to refine it to make it more suitable to your preference.
Creating an AI voice over from your script
Once you have a script you will need a voice over. You can do this by recording your own voice with a microphone, but to automate the process, you can use AI to generate a voice over. You can use an AI text-to-speech API that takes text input and converts it into spoken audio, saved as an MP3 file.
In this guide, I will quickly walk you through how you can do this using Shotstack’s generative AI API.
What you will need to follow along is a Shotstack API key. You can get one when you sign up for a free account.
Open your terminal and run the following curl command. Be sure to replace SHOTSTACK_API_KEY with your stage API key and the value of the text parameter with the script for your video. In our example below, we are creating a voice over for a fictitious TypeScript coding channel.
curl -X POST \
     -H "Content-Type: application/json" \
     -H "x-api-key: SHOTSTACK_API_KEY" \
     https://api.shotstack.io/create/stage/assets \
     -d '{
        "provider": "shotstack",
        "options": {
          "type": "text-to-speech",
          "text": "Welcome back to another Totally TypeScript Short. In this video we\'ll teach you everything there is to know about Classes using TypeScript in two minutes.",
          "voice": "Matthew",
          "language": "en-US"
        }
      }'
You will get a response like this:
{
  "data": {
    "type": "asset",
    "id": "01hvf-5br9b-k0msp-g187k-e3htf4",
    "attributes": {
      "owner": "3zq6g23nf6",
      "provider": "shotstack",
      "type": "text-to-speech",
      "status": "queued",
      "created": "2024-04-14T20:39:14.001Z",
      "updated": "2024-04-14T20:39:14.001Z"
    }
  }
}
Take note of the asset id. Copy it and use it in place of ASSET_ID in the command below and run it in your terminal.
curl -X GET https://api.shotstack.io/create/stage/assets/ASSET_ID \
    -H 'Accept: application/json' \
    -H 'x-api-key: SHOTSTACK_API_KEY'
This will return response with details of the generated voice over.
{
  "data": {
    "type": "asset",
    "id": "01hvf-5br9b-k0msp-g187k-e3htf4",
    "attributes": {
      "owner": "3zq6g23nf6",
      "provider": "shotstack",
      "type": "text-to-speech",
      "url": "https://shotstack-create-api-v1-assets.s3.amazonaws.com/3zq6g23nf6/01hvf-5br9b-k0msp-g187k-e3htf4.mp3",
      "status": "done",
      "created": "2024-04-14T20:59:14.001Z",
      "updated": "2024-04-14T20:59:14.001Z"
    }
  }
}
These details include the URL which you can use to access the audio and download it.
Generating an AI avatar to present your script
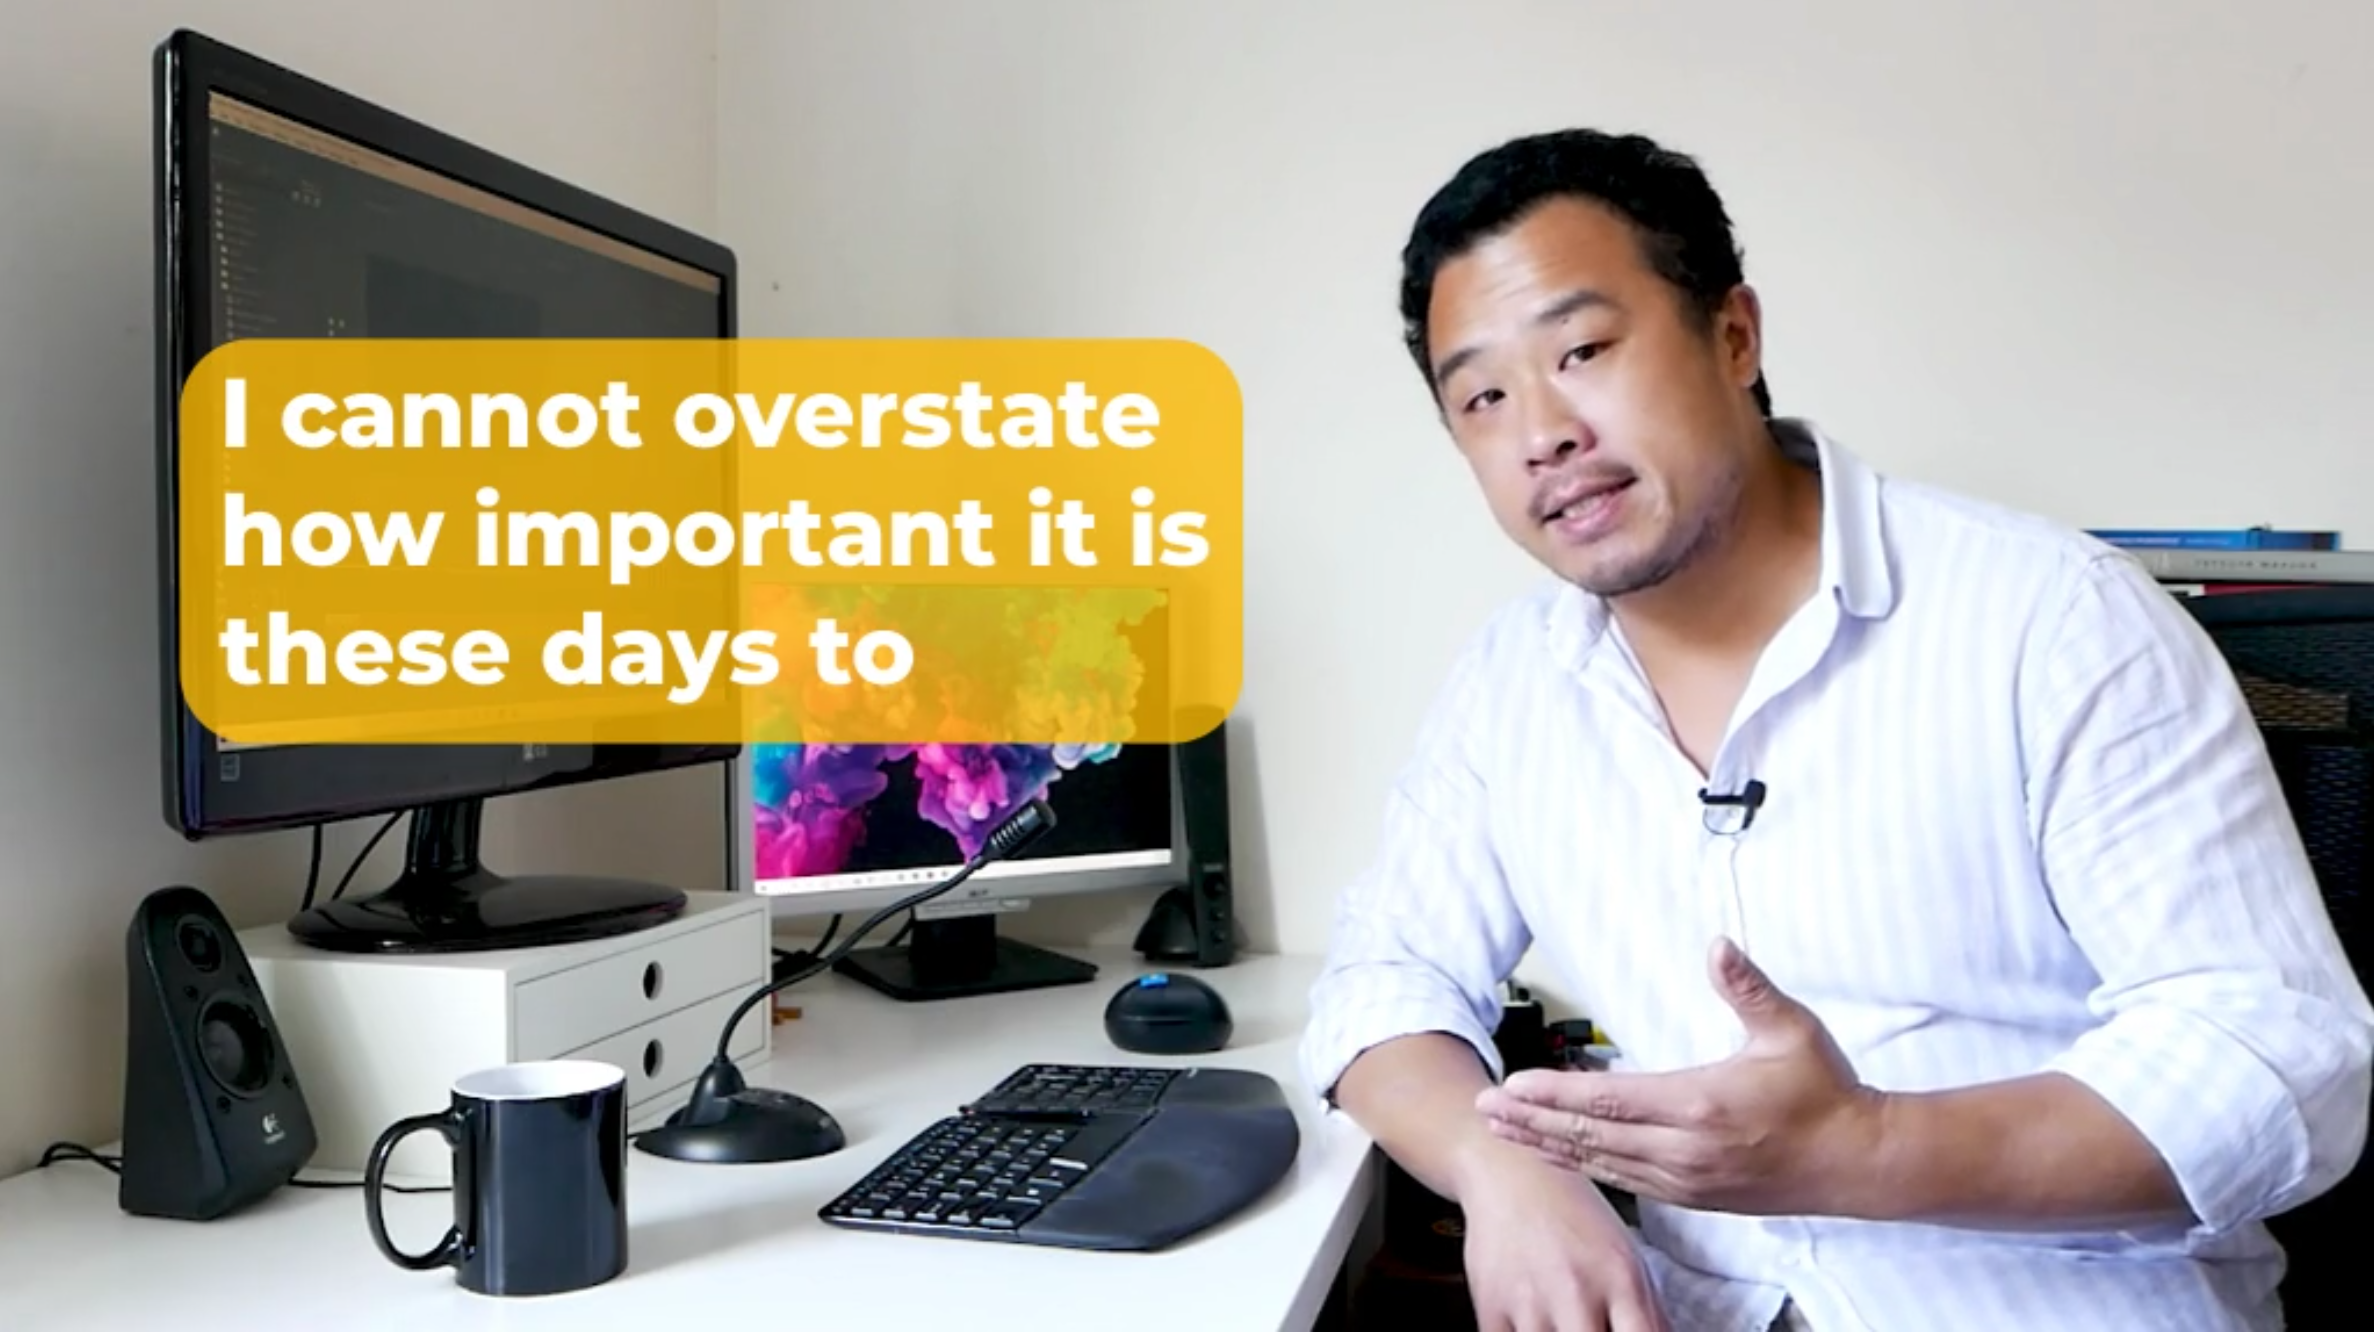
Generative AI makes it possible to create talking avatars - a realistic looking presenter that combines spoken audio with a lip synced presenter and subtle hand and head gestures.
This is a great way to present your script in video format. You can use a tool like D-ID to generate a talking avatar.
Shotstack’s Create API integrates with D-ID allowing you to generate an AI presenter for your video and unify all your YouTube automation requests in to a single API.
For the example in this tutorial, you will need a D-ID developer account and API key. Once you have a key you need to add it via the Shotstack dashboard.
Note that D-ID is a paid service. Once your free trial expires you will need to upgrade to at least the Launch plan tier to generate avatars
After you are done with the integration, you can make a POST request using the curl command below.
curl -X POST \
     -H "Content-Type: application/json" \
     -H "x-api-key: SHOTSTACK_API_KEY" \
     https://api.shotstack.io/create/stage/assets \
     -d '{
      "provider": "d-id",
      "options": {
        "type": "text-to-avatar",
        "text": "Welcome back to another Totally TypeScript Short. In this video we'll teach you everything there is to know about Classes using TypeScript in two minutes.",
        "avatar": "matt",
        "background": "#ffffff"
      }
    }'
The POST request will return a response like the one below. It will include an asset id. Copy the id and use it in the next step.
{
  "data": {
    "type": "asset",
    "id": "01hwj-8sqtb-k297e-4yrje-xvq2dr",
    "attributes": {
      "owner": "3zq6g23nf6",
      "provider": "d-id",
      "type": "text-to-avatar",
      "status": "queued",
      "created": "2024-04-28T11:52:43.103Z",
      "updated": "2024-04-28T11:52:43.103Z"
    }
  }
}
To get details of the generated video, use the GET request below. Replace ASSET_ID with the id from the previous step and replace SHOTSTACK_API_KEY with your API key.
curl -X GET https://api.shotstack.io/create/stage/assets/ASSET_ID \
      -H 'Accept: application/json' \
      -H 'x-api-key: SHOTSTACK_API_KEY'
You will get a JSON response which will include details like the URL of the generated video.
{
  "data": {
    "type": "asset",
    "id": "01hwj-8sqtb-k297e-4yrje-xvq2dr",
    "attributes": {
      "owner": "3zq6g23nf6",
      "provider": "d-id",
      "type": "text-to-avatar",
      "url": "https://shotstack-create-api-stage-assets.s3.amazonaws.com/3zq6g23nf6/01hwj-8sqtb-k297e-4yrje-xvq2dr.mp4",
      "status": "done",
      "created": "2024-04-28T11:52:43.103Z",
      "updated": "2024-04-28T11:54:14.586Z"
    }
  }
}
Copy and paste the URL in your browser to view or download the video.
Automated YouTube video editing
Video editing is one of the most time consuming tasks when creating YouTube videos. You can use AI to generate assets including voice overs, AI presenters, images and short video clips from text prompts. But to build a complete video you need to edit these assets together.
The Shotstack Edit API is a video editing API that allows you to create videos programmatically. Using an easy to understand JSON format, you can define the sequence of assets, the duration of each asset and the transitions between them. You can also add text and overlay elements like lower thirds and logos.
The Shotstack Studio is a browser based bulk video editor that allows you to visually design your template which you can then export as JSON to use with the API. You can also save the template with merge fields and only send data to the API that needs to be replaced.
Here is an example of our presenter generated in the previous step being used in a template. The template includes a placeholder for a heading and body text. These can be replaced in bulk using the API

And here is the cURL request you can use to render the video using the Edit API:
curl -X POST \
    -H "content-type: application/json" \
    https://api.shotstack.io/stage/templates/render \
    -H "x-api-key: SHOTSTACK_API_KEY" \
    -d '{
        "id": "SHOTSTACK_TEMPLATE_ID",
        "merge": [
            {
                "find": "HEADLINE",
                "replace": "TOTALLY TYPESCRIPT: CLASSES"
            },
            {
                "find": "TEXT",
                "replace": "Everything there is to know about Classes using TypeScript in two minutes."
            },
            {
                "find": "PRESENTER",
                "replace": "https://shotstack-create-api-v1-assets.s3.amazonaws.com/msgtwx8iw6/01hzg-qy2rw-xfhhn-f727c-frsvfx.mp4"
            }
        ]
    }'
You should receive a response like below:
{
    "success": true,
    "message": "Created",
    "response": {
        "message": "Render Successfully Queued",
        "id": "870d37b7-f044-4a7f-a85a-16fd59c27c3b"
    }
}
To get the status of the video render run the cURL command below. Replace RENDER_ID with the response.id value returned above and the correct SHOTSTACK_API_KEY.
curl -X GET \
    -H "Content-Type: application/json" \
    -H "x-api-key: SHOTSTACK_API_KEY" \
    https://api.shotstack.io/stage/render/RENDER_ID?data=false
You should get a response similar to below
{
    "success": true,
    "message": "OK",
    "response": {
        "id": "870d37b7-f044-4a7f-a85a-16fd59c27c3b",
        "owner": "3zq6g23nf6",
        "plan": "basic",
        "status": "done",
        "error": "",
        "duration": 7.6,
        "billable": 7.6,
        "renderTime": 4662.37,
        "url": "https://shotstack-api-stage-output.s3-ap-southeast-2.amazonaws.com/3zq6g23nf6/870d37b7-f044-4a7f-a85a-16fd59c27c3b.mp4",
        "poster": null,
        "thumbnail": null,
        "created": "2024-06-04T06:08:35.913Z",
        "updated": "2024-06-04T06:08:41.105Z"
    }
}
When the status is done you can download the video from the url field, it should look like below.
Creating a YouTube thumbnail using AI text-to-image
When you’re uploading your video, YouTube automatically suggests thumbnails for you. YouTube generates these suggestions using frames from your video.
You can also use a custom thumbnail if you don’t like the ones YouTube suggested. A lot of YouTuber’s swear by the thumbnail to generate more views and spend a lot of time designing and optimising them.
A good way to use AI to automatically generate YouTube thumbnails is to use the Shotstack Create API. The AI text-to-image service can generate images from text prompts to use for your thumbnail.
You could use ChatGPT to generate a prompt for the thumbnail based on the script of the video or simply type a prompt that is relevant to the video content.
You can call the Create API to generate an image using the API call below, it includes a prompt that is relevant for our video.
curl -X POST \
     -H "Content-Type: application/json" \
     -H "x-api-key: SHOTSTACK_API_KEY" \
     https://api.shotstack.io/create/stage/assets \
     -d '
        {
        "provider": "shotstack",
        "options": {
          "type": "text-to-image",
          "prompt": "A photograph of a developer writing code on a laptop sitting at a modern tidy desk with ambient lighting in the background",
          "width": 1280,
          "height": 768
        }
      }'
This will return a JSON response like the one below.
{
  "data": {
    "type": "asset",
    "id": "01ktj-b9svn-9y6ap-as6g6-ha11vk",
    "attributes": {
      "owner": "3zq6g23nf6",
      "provider": "shotstack",
      "type": "text-to-image",
      "status": "queued",
      "created": "2024-04-28T12:49:41.861Z",
      "updated": "2024-04-28T12:49:41.861Z"
    }
  }
}
Use the returned asset id to access the generated thumbnail. Replace ASSET_ID in the curl command below with the id from the previous JSON response.
curl -X GET https://api.shotstack.io/create/stage/assets/ASSET_ID \
  -H 'Accept: application/json' \
  -H 'x-api-key: SHOTSTACK_API_KEY'
You will get a JSON with details of the generated image including the URL.
{
 "data": {
   "type": "asset",
   "id": "01ktj-b9svn-9y6ap-as6g6-ha11vk",
   "attributes": {
     "owner": "3zq6g23nf6",
     "provider": "shotstack",
     "type": "text-to-image",
     "url": "https://shotstack-create-api-v1-assets.s3.amazonaws.com/3zq6g23nf6/01ktj-b9svn-9y6ap-as6g6-ha11vk.png",
     "status": "done",
      "created": "2024-04-28T12:49:41.861Z",
      "updated": "2024-04-28T12:49:41.861Z"
   }
 }
}
Open the URL in your browser to view or download the generated thumbnail.

You may want to experiment with the prompt and generate more images until you create the perfect image. Once you are happy you can upload it directly to YouTube. You might also want to add text or other elements to the image to make it more engaging. You even use the Shotstack Studio to add text and other elements to an image.
Conclusion
You now know various YouTube automation processes and the AI tools that can help you. This article covered automating tasks like generating ideas and creating a script with ChatGPT. We also covered creating voice overs, AI presenters, automated video editing and generating thumbnail images using AI.
YouTube automation can help you improve your workflow as a content creator. But you also need to strike a balance between automation and adding your creativity to the videos. This will help you create content that is unique and valuable for your audience. Experiment with different approaches and see what works best for you.
Get started with Shotstack's video editing API in two steps:
- Sign up for free to get your API key.
- Send an API request to create your video:
curl --request POST 'https://api.shotstack.io/v1/render' \
--header 'x-api-key: YOUR_API_KEY' \
--data-raw '{
  "timeline": {
    "tracks": [
      {
        "clips": [
          {
            "asset": {
              "type": "video",
              "src": "https://shotstack-assets.s3.amazonaws.com/footage/beach-overhead.mp4"
            },
            "start": 0,
            "length": "auto"
          }
        ]
      }
    ]
  },
  "output": {
    "format": "mp4",
    "size": {
      "width": 1280,
      "height": 720
    }
  }
}'


Experience Shotstack for yourself.
- Seamless integration
- Dependable high-volume scaling
- Blazing fast rendering
- Save thousands


