Split screen videos are everywhere on social media, especially TikTok and YouTube. Creators use these split screen style videos to make content like gaming videos, reaction videos, and more. This style of video is useful when you want to show multiple angles or perspectives of an action at the same time.
Wouldn’t it be cool if you had a template you can easily reuse anytime you want to create these split screen videos? In this guide, you will learn how to create a reusable video template you can use to create such videos for TikTok and YouTube Shorts. The template will take two videos and render them vertically, one on top of the other.
About Shotstack and the Edit API
Shotstack is a cloud-based media automation platform designed to simplify creating dynamic videos at scale. With Shotstack, users can create professional-looking video templates without the need for expensive software or advanced video editing skills. These templates can then be re-used and rendered automatically using an API or workflow.
We will create the template in this guide using the Shotstack Studio design tool, and then export the generated JSON to render using the API.
Requirements
To follow along with this guide, you will need the following:
- A Shotstack API Key. Get one when you sign up for a free account.
- Basic knowledge of interacting with APIs and running commands in the terminal.
Creating a split screen gaming video for TikTok and YouTube Shorts
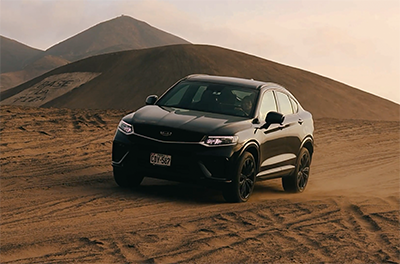
To create this example video we will use the following two videos. We will layer them to create a single vertical video with one on top of the other.
The top video will be of the video game footage which we have already uploaded to teh following URL:
https://shotstack-ingest-api-stage-sources.s3.ap-southeast-2.amazonaws.com/irwdtighyk/zzy7tric-01pb-ew46-lybu-1expbl02la8y/source.mp4
The bottom video is footage of the gamer playing the game, at the following URL:
https://shotstack-ingest-api-stage-sources.s3.ap-southeast-2.amazonaws.com/irwdtighyk/zzy7nf6j-3fqh-zy3d-y87m-2aw9dc3g9qv2/source.mp4
Designing the split screen video template
A split screen video template is very easy to design and a developer could easily create one using JSON alone and some basic maths. However, whether you are a developer or a designer, you might find it easier to create the template in the Studio visual editor.
The Studio editor can be found in the dashboard and provides familiar timeline and drag and drop features found in desktop video editing software.

To save time we have created a template exactly like the one below and exported the JSON. If you want to adjust the design you can copy and paste the JSON back in to the editor and make changes.
Merge fields have also been set up in the template with placeholders for the top and bottom video. This way you can re-use the template over and over again by simply swapping the videos.
Automated TikTok and YouTube Shorts split screen video creation
Instead of logging in to the Studio every time you want to create a new split screen video you can automate it using the Shotstack video editing API.
One way to do this is by exporting the JSON from the Studio and then using the API to render the video. The JSON will contain the template and the merge fields for the top and bottom video URLs.
Let’s start by creating a new JSON file. For this tutorial, let’s call it split.json. Copy and paste the JSON below which is the template we created in the Studio.
{
  "timeline": {
    "background": "#000000",
    "tracks": [
      {
        "clips": [
          {
            "asset": {
              "type": "video",
              "src": "{{ TOP_VIDEO }}"
            },
            "start": 0,
            "length": 13,
            "scale": 0.5,
            "offset": {
              "x": 0,
              "y": 0.25
            },
            "position": "center"
          }
        ]
      },
      {
        "clips": [
          {
            "asset": {
              "type": "video",
              "src": "{{ BOTTOM_VIDEO }}"
            },
            "start": 0,
            "length": 13,
            "scale": 0.5,
            "offset": {
              "x": 0,
              "y": -0.25
            },
            "position": "center"
          }
        ]
      }
    ]
  },
  "output": {
    "format": "mp4",
    "fps": 25,
    "size": {
      "width": 720,
      "height": 1280
    }
  },
  "merge": [
    {
      "find": "TOP_VIDEO",
      "replace": "https://shotstack-ingest-api-stage-sources.s3.ap-southeast-2.amazonaws.com/irwdtighyk/zzy7tric-01pb-ew46-lybu-1expbl02la8y/source.mp4"
    },
    {
      "find": "BOTTOM_VIDEO",
      "replace": "https://shotstack-ingest-api-stage-sources.s3.ap-southeast-2.amazonaws.com/irwdtighyk/zzy7nf6j-3fqh-zy3d-y87m-2aw9dc3g9qv2/source.mp4"
    }
  ]
}
Note: you can copy this JSON in to the Studio editor too.
The recommended aspect ratio for TikTok videos and YouTube Shorts is 9:16. This means the split screen video we create should be vertical with one video on top of the other. We are outputting the video in 720px x 1280px resolution which is a 9:16 aspect ratio. You could also use 1080px x 1920px resolution which is also 9:16.
In the JSON example above, we have scaled down both videos by 0.5, or half their original size. This is because the source videos are widescreen, 16:9 aspect ratio, and we want them to fill half of the vertical space.
We also use the offset property with a value of 0.25 on the y axis for the top video and a value of -0.25 for the bottom video. This moves the top video up by 25% of the vertical space and the bottom video down by 25% of the vertical space.
Post the JSON to the render endpoint
In your terminal, navigate to the directory with the split.json file. Run the cURL command below to make a POST request to the Edit API. Substitute SHOTSTACK_API_KEY with your sandbox API key.
curl -X POST \
  -H "Content-Type: application/json" \
  -H "x-api-key: SHOTSTACK_API_KEY" \
  -d @split.json \
  https://api.shotstack.io/stage/render
The API will respond with JSON that looks like the following.
{
  "success": true,
  "message": "Created",
  "response": {
    "message": "Render Successfully Queued",
    "id": "c9149d32-fd8e-4b48-bcb7-e104d815c1a2"
  }
}
Take note of the value of response.id. You will need it to check the render status in the next step.
Check the render status of the video
Copy the id in the previous response and use it in place of RESPONSE_ID in the command below. Don’t forget to also replace SHOTSTACK_API_KEY with your actual sandbox API key.
Run the following command in your terminal to make a GET request to the Edit API.
curl -X GET \
  -H "Content-Type: application/json" \
  -H "x-api-key: SHOTSTACK_API_KEY" \
  https://api.shotstack.io/stage/render/RESPONSE_ID?data=false
You should get a response with a response.status value. When this value is done, it means rendering is complete. The response will also include a url value which points to the rendered video file.
{
  "success": true,
  "message": "OK",
  "response": {
    "id": "c9149d32-fd8e-4b48-bcb7-e104d815c1a2",
    "owner": "irwdtighyk",
    "plan": "sandbox",
    "status": "done",
    "error": "",
    "duration": 15,
    "billable": 15,
    "renderTime": 9152.28,
    "url": "https://shotstack-api-stage-output.s3-ap-southeast-2.amazonaws.com/irwdtighyk/c9149d32-fd8e-4b48-bcb7-e104d815c1a2.mp4",
    "poster": null,
    "thumbnail": null,
    "created": "2024-05-14T17:31:48.268Z",
    "updated": "2024-05-14T17:31:58.256Z"
  }
}
To view the file you can copy the value of response.url and paste it into your browser. You should see the final output of the split screen video.
Working with vertical videos in split screen videos
We created the first split screen example using two widescreen videos with an aspect ratio of 16:9. Let’s create another example using the two vertical videos below. In this example we will create a blogging style split screen video with the presenters top and bottom.
https://shotstack-ingest-api-stage-sources.s3.ap-southeast-2.amazonaws.com/irwdtighyk/zzy7ndjk-1bjo-vw34-s9jt-0xolnz20lfbm/source.mp4
https://shotstack-ingest-api-stage-sources.s3.ap-southeast-2.amazonaws.com/irwdtighyk/zzy7ndao-4j2x-fn4j-xiqw-2bss300nseih/source.mp4
Follow the same steps we used for the first example. The only thing that will change is the JSON template. Create a new example.json file with the content below.
{
  "timeline": {
    "background": "#000000",
    "tracks": [
      {
        "clips": [
          {
            "asset": {
              "type": "video",
              "src": "{{ TOP_VIDEO }}",
              "crop": {
                "top": 0.25,
                "bottom": 0.25
              }
            },
            "start": 0,
            "length": 9,
            "offset": {
              "x": 0,
              "y": 0.25
            }
          }
        ]
      },
      {
        "clips": [
          {
            "asset": {
              "type": "video",
              "src": "{{ BOTTOM_VIDEO }}",
              "crop": {
                "top": 0.25,
                "bottom": 0.25
              }
            },
            "start": 0,
            "length": 9,
            "offset": {
              "x": 0,
              "y": -0.25
            }
          }
        ]
      }
    ]
  },
  "output": {
    "format": "mp4",
    "fps": 25,
    "size": {
      "width": 720,
      "height": 1280
    }
  },
  "merge": [
    {
      "find": "TOP_VIDEO",
      "replace": "https://shotstack-ingest-api-stage-sources.s3.ap-southeast-2.amazonaws.com/irwdtighyk/zzy7ndjk-1bjo-vw34-s9jt-0xolnz20lfbm/source.mp4"
    },
    {
      "find": "BOTTOM_VIDEO",
      "replace": "https://shotstack-ingest-api-stage-sources.s3.ap-southeast-2.amazonaws.com/irwdtighyk/zzy7ndao-4j2x-fn4j-xiqw-2bss300nseih/source.mp4"
    }
  ]
}
The difference here is that we use the crop property instead of scale. The crop property lets us chop off the top and bottom portions of the video which otherwise would overlap each other. We set the top and bottom values to 0.25 which removes 25% from both the top and bottom of the video.
The offset property is used again to move the top video up by 25% and the bottom video down by 25% space using a value of 0.25 and -0.25 respectively.
Below is the output video using vertical source videos:
Adding a border to the split screen videos
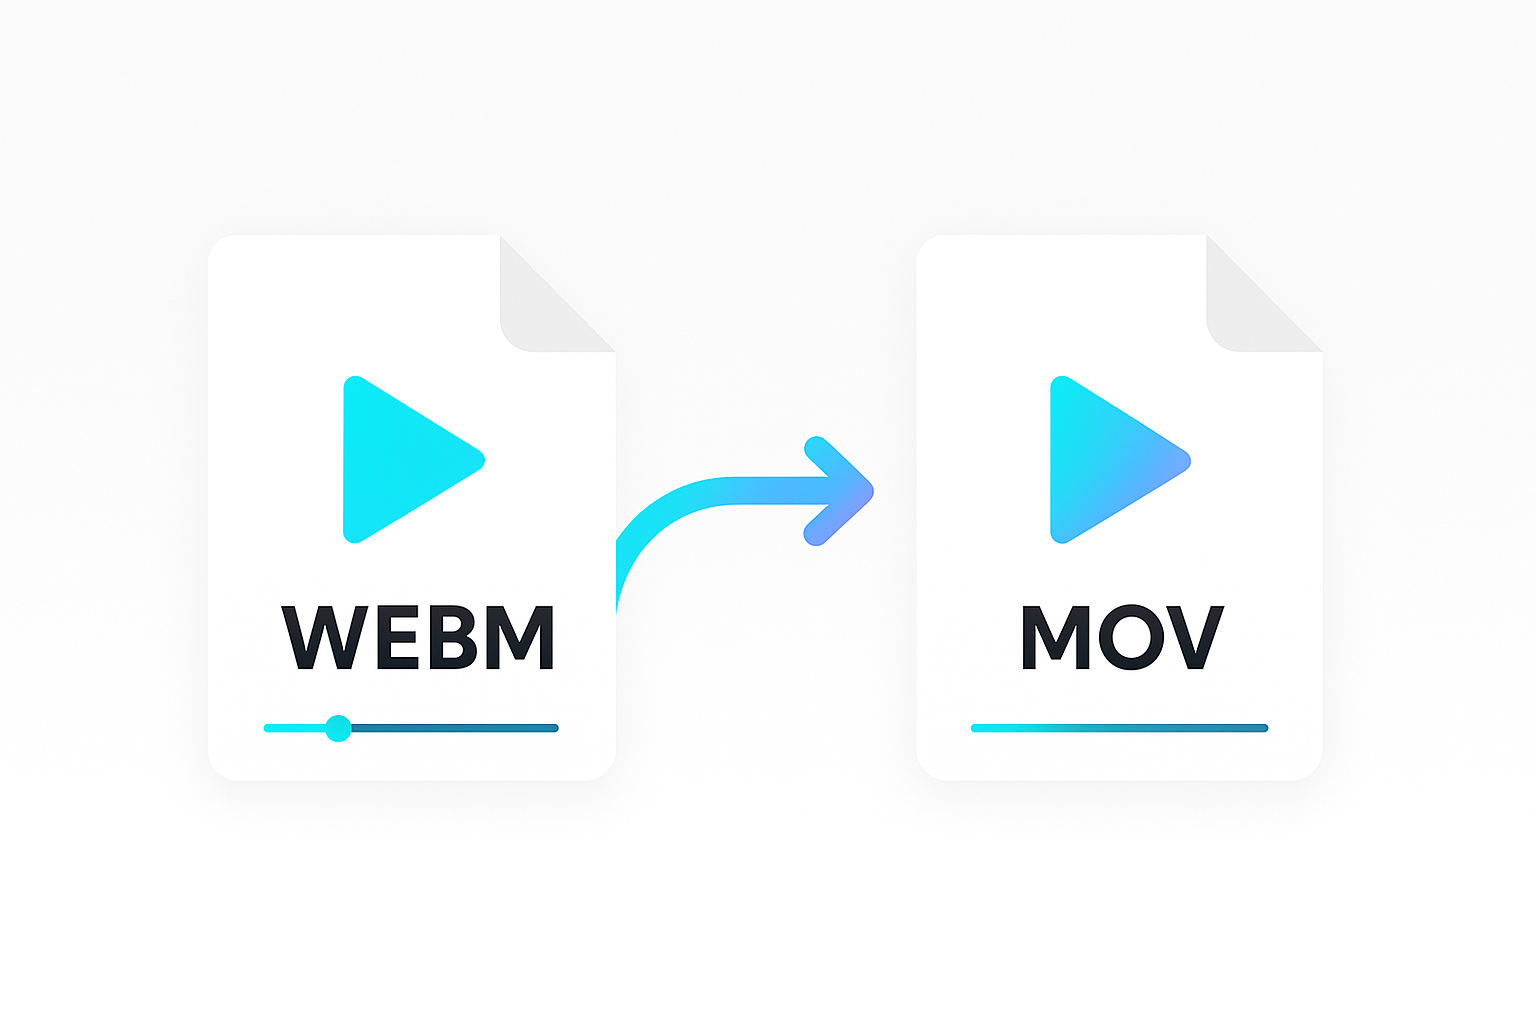
One creative feature of Shotstack is the ability to add overlays to videos. You can create animations and effects in software like After Effects and export them as QuickTime mov files with an alpha channel. These files can then be layered on top of other videos to create cool effects.
Using this technique you can create borders and frames around the split screen video.
For an example, use the JSON below and render a video using the same approach as above.
{
  "timeline": {
    "background": "#000000",
    "tracks": [
      {
        "clips": [
          {
            "asset": {
              "type": "video",
              "src": "https://shotstack-ingest-api-v1-sources.s3.ap-southeast-2.amazonaws.com/msgtwx8iw6/zzy7nusg-2ufn-hk0j-wlhz-22ypld15fnrr/source.mov"
            },
            "start": 0,
            "length": 13,
            "offset": {
              "x": 0,
              "y": 0
            },
            "position": "center"
          }
        ]
      },
      {
        "clips": [
          {
            "asset": {
              "type": "video",
              "src": "{{ TOP_VIDEO }}",
              "volume": 1
            },
            "start": 0,
            "length": 13,
            "scale": 0.5,
            "offset": {
              "x": 0,
              "y": 0.274
            },
            "position": "center"
          }
        ]
      },
      {
        "clips": [
          {
            "asset": {
              "type": "video",
              "src": "{{ BOTTOM_VIDEO }}",
              "volume": 1
            },
            "start": 0,
            "length": 13,
            "scale": 0.5,
            "offset": {
              "x": 0,
              "y": -0.227
            },
            "position": "center"
          }
        ]
      }
    ]
  },
  "output": {
    "format": "mp4",
    "fps": 25,
    "size": {
      "width": 720,
      "height": 1280
    },
    "destinations": []
  },
  "merge": [
    {
      "find": "TOP_VIDEO",
      "replace": "https://shotstack-ingest-api-stage-sources.s3.ap-southeast-2.amazonaws.com/irwdtighyk/zzy7tric-01pb-ew46-lybu-1expbl02la8y/source.mp4"
    },
    {
      "find": "BOTTOM_VIDEO",
      "replace": "https://shotstack-ingest-api-stage-sources.s3.ap-southeast-2.amazonaws.com/irwdtighyk/zzy7nf6j-3fqh-zy3d-y87m-2aw9dc3g9qv2/source.mp4"
    }
  ]
}
You will notice that we have added a new track and video clip with a source.mov file which was uploaded using the Studio editor. The mov file includes a border animation with two transparent windows which will frame the top and bottom videos. The clip is layered over the top of the other two videos.
We also need to slightly adjust the offset values as the border windows are not exactly aligned with the top and bottom of the video.
Here is how the final video should look:
Conclusion
You now know how to automate creating split screen videos for TikTok or YouTube Shorts. This guide covered how to design creating templates in the Shotstack Studio editor and then exporting the JSON to render using the API. We also showed how to add borders to the split screen videos using overlays. The template is reusable and you can easily swap out the videos thanks to the merge fields.
Next you might want to add text to the video, add a sound track or even generate a voice over using AI and our Create API.
Get started with Shotstack's video editing API in two steps:
- Sign up for free to get your API key.
- Send an API request to create your video:
curl --request POST 'https://api.shotstack.io/v1/render' \
--header 'x-api-key: YOUR_API_KEY' \
--data-raw '{
  "timeline": {
    "tracks": [
      {
        "clips": [
          {
            "asset": {
              "type": "video",
              "src": "https://shotstack-assets.s3.amazonaws.com/footage/beach-overhead.mp4"
            },
            "start": 0,
            "length": "auto"
          }
        ]
      }
    ]
  },
  "output": {
    "format": "mp4",
    "size": {
      "width": 1280,
      "height": 720
    }
  }
}'


Experience Shotstack for yourself.
- Seamless integration
- Dependable high-volume scaling
- Blazing fast rendering
- Save thousands