This guide shows you how to use FFmpeg with clear, copy-pasteable commands and real-world examples. You’ll be able to handle everyday jobs easily, such as converting formats, compress with CRF, trim or concatenate clips, add subtitles, extract frames, change speed, and more. A basic FFmpeg introduction and installation steps are also included so you can hit the ground running.
What is FFmpeg?
FFmpeg is a free, open-source, command-line toolkit for video and audio. It handles format conversion, compression (CRF/presets), trimming/concatenation, subtitles, frame extraction, and more using commands; its companion ffprobe inspects and validates media streams.
Reasons to use FFmpeg:
- Free & open-source: under active development, with regular fixes and feature releases.
- Cross-platform: runs on Windows, macOS, and Linux.
- Command-line & scriptable: perfect for automation, batch jobs, and CI pipelines.
- Wide codec/container support: supports more formats than any other tool. Run ffmpeg -codecs for the full list.
- Hardware acceleration options: NVENC, QSV, VideoToolbox, and VAAPI for faster encodes.
- Straightforward to set up: multiple ways to install FFmpeg (package managers, installers, or prebuilt binaries).
Understanding media files
A container (MP4, MKV, WebM, OGG) wraps media files. It contains streams such as video, audio, and subtitles. Codecs encode each stream. Video streams use codecs like H.264, H.265, VP9, or AV1. Audio streams use codecs like AAC, MP3, or Opus.
- Changing only the wrapper is a remux. Use
-c copy. - Changing a codec is transcoding. Use
-c:vor-c:ato pick encoders. - Containers define which stream types/codecs they can carry. FFmpeg may choose default encoders when you don’t specify
-c:v/-c:a.
How to install FFmpeg
Some operating systems, like Ubuntu, may already include FFmpeg. Before downloading anything, it’s worth checking with:
ffmpeg -version
If you see a version number and build information, FFmpeg is already installed. If not, you will need to install it manually.
Note: FFmpeg.org provides the source code only. Ready-to-use builds come from trusted vendors. Advanced users can also use package managers such as Winget, Chocolatey, or Scoop on Windows, or Homebrew on macOS.
Install FFmpeg on Windows (Windows 10/11)
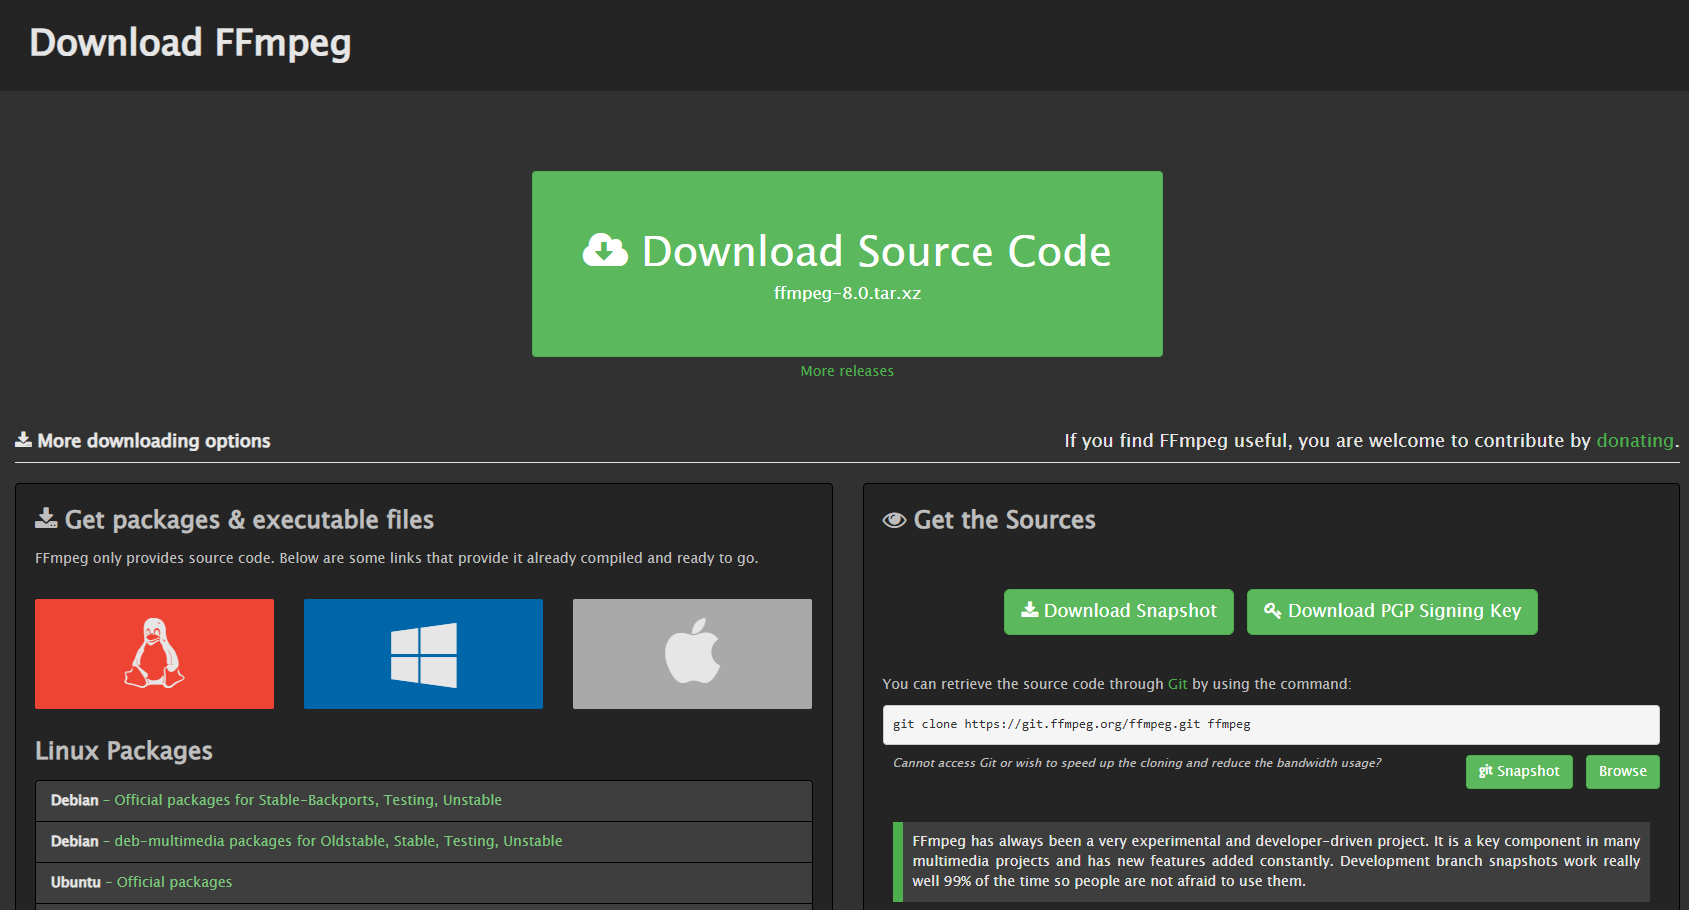
- Go to the FFmpeg download page.
- Under Get packages & executable files, choose Windows and download a trusted static build (for example from gyan.dev).
- Extract it to
C:\ffmpeg\so the binaries are inC:\ffmpeg\bin\. - Add FFmpeg to your PATH:
- Open Start > type Environment Variables > click Edit the system environment variables.
- Under System variables, find Path > click Edit > New > add
C:\ffmpeg\bin\. - Save and close.
- Open a new Command Prompt and verify:
ffmpeg -version
ffprobe -version
where ffmpeg
If installed correctly, you’ll see something like:
ffmpeg version 2024-02-04-git-7375a6ca7b-essentials_build-www.gyan.dev Copyright (c) 2000-2024 the FFmpeg developers
 built with gcc 12.2.0 (Rev10, Built by MSYS2 project)
 configuration: --enable-gpl --enable-version3 --enable-static --pkg-config=pkgconf --disable-w32threads --disable-autodetect --enable-fontconfig --enable-iconv --enable-gnutls --enable-libxml2 --enable-gmp --enable-bzlib --enable-lzma --enable-zlib --enable-libsrt --enable-libssh --enable-libzmq --enable-avisynth --enable-sdl2 --enable-libwebp --enable-libx264 --enable-libx265 --enable-libxvid --enable-libaom --enable-libopenjpeg --enable-libvpx --enable-mediafoundation --enable-libass --enable-libfreetype --enable-libfribidi --enable-libharfbuzz --enable-libvidstab --enable-libvmaf --enable-libzimg --enable-amf --enable-cuda-llvm --enable-cuvid --enable-ffnvcodec --enable-nvdec --enable-nvenc --enable-dxva2 --enable-d3d11va --enable-libvpl --enable-libgme --enable-libopenmpt --enable-libopencore-amrwb --enable-libmp3lame --enable-libtheora --enable-libvo-amrwbenc --enable-libgsm --enable-libopencore-amrnb --enable-libopus --enable-libspeex --enable-libvorbis --enable-librubberband
 libavutil      58. 36.101 / 58. 36.101
 libavcodec     60. 38.100 / 60. 38.100
 libavformat    60. 20.100 / 60. 20.100
 libavdevice    60.  4.100 / 60.  4.100
 libavfilter     9. 17.100 /  9. 17.100
 libswscale      7.  6.100 /  7.  6.100
 libswresample   4. 13.100 /  4. 13.100
 libpostproc    57.  4.100 / 57.  4.100
Universal media converter
usage: ffmpeg [options] [[infile options] -i infile]... {[outfile options] outfile}...
Install FFmpeg on macOS (Intel & Apple Silicon)
You can install FFmpeg on macOS by downloading a prebuilt binary or using Homebrew.
Option A — Homebrew (recommended if you already use it):
brew update
brew install ffmpeg
ffmpeg -version
Option B — Manual install
- Visit the FFmpeg download page.
- Select macOS builds and download from a trusted source such as evermeet.cx or osxexperts.net.
- Move the
ffmpegbinary into/usr/local/bin(or another folder in your PATH). - Verify:
ffmpeg -version
How to install FFmpeg on Ubuntu/Linux
On Linux, you can install FFmpeg from vendor builds if your distribution doesn’t include it or if you need a full build with extra codecs.
Ubuntu
sudo apt update
sudo apt install ffmpeg
ffmpeg -version
ffprobe -version
Fedora / RHEL
sudo dnf install ffmpeg
ffmpeg -version
If your repository build lacks some encoders, download a static Linux build from the FFmpeg download page. Extract it. Move the binaries to /usr/local/bin and run the same verification commands.
What a successful FFmpeg setup looks like
When installed correctly, running ffmpeg -version should show the version and a list of linked libraries. On Windows you can also confirm with:
C:\> where ffmpeg
C:\ffmpeg\bin\ffmpeg.exe
On macOS/Linux you can use:
which ffmpeg
to check the install path.
Troubleshooting your FFmpeg setup
- ffmpeg is not recognized (Windows): Make sure you added
C:\ffmpeg\bin\to your PATH and opened a new terminal after saving. - Command not found (macOS/Linux): Confirm that the binary is in a folder listed in your PATH (e.g.,
/usr/local/bin). - Missing codecs: Some repository builds exclude certain encoders like H.265 or NVENC. Use a static build or recompile with the options you need.
- Still stuck? Run
ffmpeg -versionand check the build info. If the encoders you need are missing, you’ll need a different build.
FFmpeg examples and common commands
This part of the guide shows FFmpeg examples for everyday tasks. You can try the commands with any video you have, or use the sample file named scott-ko.mp4. Each example starts with a quick explanation, then gives you a copy-paste command.
Convert video formats using FFmpeg
Sometimes you just need a video in a different format so it plays nicely on a website, a phone, or a specific app. FFmpeg can convert formats with a single command, and in many cases it will pick the right codecs for you.
MP4 to WebM
ffmpeg -i scott-ko.mp4 scott-ko.webm
FFmpeg will swap the video and audio encoders as needed so the WebM file is valid. If you prefer to choose the codecs yourself, use this pattern:
ffmpeg -i scott-ko.mp4 -c:v libsvtav1 -crf 30 -preset 6 -c:a libopus scott-ko.webm
Trim a video using FFmpeg
If you only want a short part of a longer clip, you can trim videos by setting a start time and a duration. This is useful for highlights, previews, and social posts.
Keep 5 seconds starting at 10 seconds
ffmpeg -i scott-ko.mp4 -ss 00:00:10 -t 5 -c copy trimmed.mp4
-ss sets the start point, -t sets how long to keep, and -c copy saves time by not re-encoding. Put -ss after -i for accurate cuts, or before -i for faster cuts.
For more information and examples, see our how to trim a video using FFmpeg guide.
Crop a video using FFmpeg
Cropping lets you reframe the shot or change the aspect ratio. You can select the crop width and height, and where to start the crop.
Square crop example
ffmpeg -i scott-ko.mp4 -filter:v "crop=640:640:900:50" cropped.mp4
This creates a 640×640 square that begins 900 pixels from the left and 50 pixels from the top. Adjust the numbers to suit your video.
Check out this guide for an in-depth look at cropping and resizing videos with FFmpeg.
Extract or remove the audio from a video
You can save the audio on its own, or you can mute a video by removing the audio track.
Extract audio from MP4
ffmpeg -i scott-ko.mp4 -vn -c:a libmp3lame -q:a 2 scott-ko.mp3
-vn disables video, and -q:a 2 gives you a good quality MP3.
Remove audio, keep video
ffmpeg -i scott-ko.mp4 -an -c:v copy scott-ko-muted.mp4
-an disables audio, and -c:v copy keeps the video as is.
Concatenate videos using FFmpeg
When your clips share the same format and codec settings, the concat demuxer can join them quickly without re-encoding.
Step 1. Create a list file
file 'video1.mp4'
file 'video2.mp4'
file 'video3.mp4'
Step 2. Merge
ffmpeg -f concat -safe 0 -i filelist.txt -c copy merged.mp4
The concat demuxer (-f concat -c copy) only works when every input clip matches on the important technical details. They must have the same:
- Video codec, resolution, frame rate, pixel format, and SAR
- Audio codec, sample rate, channel layout, and sample format
If any of those settings differ, the stream-copy concat method will fail or cause glitches. In that case, use the concat filter. It lets you normalize each stream before joining them. Normalizing usually means making files consistent. For video, it means resizing to the same dimensions and using the same frame rate. For audio, it means matching the sample rate and the number of channels. Because these settings change, FFmpeg must re-encode the output.
Resize a video using FFmpeg
To resize a video using FFmpeg, you can use the scale filter set using the -vf (video filter) option.
Here’s an example template:
ffmpeg -i input.mp4 -vf "scale=w:h" resized.mp4
Replace the placeholders with your specific values:
- input.mp4: Replace this with the path to your input video file.
- -vf “scale=w:h”: Replace w and h with the desired width and height of the output video. You can also set a single dimension, such as -vf “scale=-1:720” to maintain the original aspect ratio.
- resized.mp4: Replace this with the desired output video file name and extension.
Here’s an example command resizing our test video to 720p resolution and maintaining the aspect ratio:
ffmpeg -i scott-ko.mp4 -vf "scale=-1:720" resized.mp4
For more information and examples, see how to crop and resize videos using FFmpeg.
Compress a video using FFmpeg
You’ll typically need to re-encode it using a more efficient video codec or by adjusting other encoding parameters.
There are many different ways to do this but here’s an example template to get you started:
ffmpeg -i input.mp4 -c:v libx264 -crf 25 -c:a aac -b:a 128k compressed.mp4
Here’s the options and placeholders you can replace:
- input.mp4: Replace this with the path to your input video file.
- -c:v libx264: This option sets the video codec to H.264 (libx264). H.264 is a widely used and efficient video codec.
- -crf 25: This controls the video quality. A lower CRF (constant rate factor) value results in higher quality but larger file size. Typical values range from 18 to 28, with 23 being a reasonable default.
- -c:a aac -b:a 128k: These options set the audio codec to AAC with a bitrate of 128 kbps. Adjust the bitrate according to your preferences.
- compressed.mp4: Replace this with the desired output file name and extension.
For more information and examples, see the how to compress video using FFmpeg guide.
Using our test file, we can compress the video from 31.9MB to 6.99MB using this command:
ffmpeg -i scott-ko.mp4 -c:v libx264 -crf 25 -c:a aac -b:a 128k compressed.mp4
Convert a series of images to a video
If you have a folder of images, you can turn them into a slideshow or a simple time-lapse. Choose a frame rate to control the speed.
ffmpeg -framerate 1 -pattern_type glob -i 'path/to/images/*.jpg' -c:v libx264 -pix_fmt yuv420p montage.mp4
This shows each image for one second. Increase -framerate for faster playback.
Head over to our converting images to video with FFmpeg guide for more information.
Convert video to GIF
GIFs are great for short loops and how-to snippets. Start with a simple command, or use a color palette for better results.
Simple GIF
ffmpeg -i scott-ko.mp4 -vf "fps=10,scale=320:-1:flags=lanczos" -c:v gif animation.gif
Better colors with a palette
ffmpeg -i scott-ko.mp4 -vf "fps=10,scale=320:-1:flags=lanczos,palettegen" -y palette.png
ffmpeg -i scott-ko.mp4 -i palette.png -filter_complex "fps=10,scale=320:-1:flags=lanczos[x];[x][1:v]paletteuse" -y animation.gif
For more commands and examples, check out our full video to GIF with FFmpeg guide.
Speed up or slow down a video
You can change playback speed for time-lapses, replays, and slow-motion. Use setpts for video timing and atempo for the audio track.
2x faster
To double the speed of a video, use a setpts value of 0.5
ffmpeg -i scott-ko.mp4 -filter:v "setpts=0.5*PTS" -filter:a "atempo=2.0" fast.mp4
2x slower
To slow down a video by a factor (e.g., 2x slower), you can use a setpts value greater than 1
ffmpeg -i scott-ko.mp4 -filter:v "setpts=2.0*PTS" -filter:a "atempo=0.5" slow.mp4
atempo accepts values from 0.5 to 2. For bigger changes, you can chain it, for example atempo=2.0,atempo=2.0 for 4x.
Quick tips
- Use CRF for H.264 and H.265 when quality is the goal, and use a bitrate target when you must hit a specific file size.
- Keep the original frame rate unless you have a clear reason to change it.
- Add
-movflags +faststartto MP4 files so they begin playing sooner on the web. - If you only need to change the container, try
-c copyto remux without quality loss.
A look inside with ffprobe
When something is unclear, ffprobe can tell you what codecs and settings a file uses.
ffprobe -hide_banner -i input.mp4
For a focused view:
ffprobe -v error -select_streams v:0 -show_entries stream=codec_name,width,height,avg_frame_rate -of default=nw=1 input.mp4
ffprobe -v error -select_streams a:0 -show_entries stream=codec_name,channels,bit_rate -of default=nw=1 input.mp4
Searching for an FFmpeg alternative?
This guide provides a quick primer on how to get started and use FFmpeg for various video processing tasks, along with some simple examples. The number of options and possibilities with FFmpeg is vast, and it’s worth exploring the FFmpeg documentation and FFmpeg wiki to learn more about the tool and its capabilities.
FFmpeg’s major strength is its versatility. However, it has a steep learning curve, with cryptic commands and an intimidating array of options. If you want to run FFmpeg commercially as part of a workflow, pipeline or application you’ll also need to consider hosting the software, managing updates and security, and scaling the infrastructure to meet demand. For a detailed breakdown of these trade-offs, see our FFmpeg vs. video API comparison.
Shotstack was created to streamline automated video editing and video processing without having to learn complicated commands or worry about scaling infrastructure. Shotstack is an FFmpeg alternative offered as a collection of APIs and SDKs that allow you to programmatically create, edit and render videos in the cloud. It’s a great way to get started with video processing without having to worry about the complexities of FFmpeg.
Last updated: August 22nd, 2025
Frequently asked questions (FAQs)
How to convert MKV to MP4 using FFmpeg?
Try remuxing first (no quality loss):
ffmpeg -i input.mkv -c copy output.mp4
If playback fails, re-encode:
ffmpeg -i input.mkv -c:v libx264 -c:a aac output.mp4
How can I normalize audio with FFmpeg?
Normalize to EBU R128 (broadcast) with loudnorm:
ffmpeg -i input.mp4 -af "loudnorm=I=-23:TP=-2:LRA=11" -c:v copy normalized.mp4
This re-encodes the audio and keeps the video untouched. For strict delivery, run loudnorm in two passes (measure, then apply). If you’re targeting streaming instead, common targets are I=-16 or I=-14.
How to use subtitles with FFmpeg (soft vs hard)?
Burn in SRT (always visible)
ffmpeg -i input.mp4 -vf subtitles=subs.srt -c:a copy output.mp4
Attach as a soft track (selectable)
ffmpeg -i input.mp4 -i subs.srt -c:v copy -c:a copy -c:s mov_text output.mp4
How to use FFmpeg with yt-dlp?
yt-dlp downloads media and calls FFmpeg to merge or convert automatically.
yt-dlp URL -o "%(title)s.%(ext)s"
If you installed FFmpeg and it is on PATH, yt-dlp will find it and handle merging.
How to make FFmpeg use GPU?
Use a hardware encoder that matches your platform.
- NVIDIA (NVENC)
ffmpeg -i input.mp4 -c:v h264_nvenc -preset p4 -cq 23 -c:a aac output.mp4
- Intel (QSV)
ffmpeg -i input.mp4 -c:v h264_qsv -global_quality 23 -look_ahead 1 -c:a aac output.mp4
- Apple Silicon or Intel macOS (VideoToolbox)
ffmpeg -i input.mp4 -c:v h264_videotoolbox -b:v 5M -c:a aac output.mp4
- Linux VAAPI (basic example; VAAPI setups vary)
ffmpeg -hwaccel vaapi -vaapi_device /dev/dri/renderD128 -i input.mp4 -vf 'format=nv12,hwupload' -c:v h264_vaapi -b:v 5M -c:a aac output.mp4
How to use FFmpeg in Node.js?
Use Node’s child_process:
import { spawn } from "node:child_process";
const ff = spawn("ffmpeg", ["-i", "input.mp4", "-c:v", "libx264", "out.mp4"]);
ff.stdout.on("data", d => process.stdout.write(d));
ff.stderr.on("data", d => process.stderr.write(d));
ff.on("close", code => console.log("ffmpeg exited", code));
Get started with Shotstack's video editing API in two steps:
- Sign up for free to get your API key.
- Send an API request to create your video:
curl --request POST 'https://api.shotstack.io/v1/render' \
--header 'x-api-key: YOUR_API_KEY' \
--data-raw '{
  "timeline": {
    "tracks": [
      {
        "clips": [
          {
            "asset": {
              "type": "video",
              "src": "https://shotstack-assets.s3.amazonaws.com/footage/beach-overhead.mp4"
            },
            "start": 0,
            "length": "auto"
          }
        ]
      }
    ]
  },
  "output": {
    "format": "mp4",
    "size": {
      "width": 1280,
      "height": 720
    }
  }
}'


Experience Shotstack for yourself.
- Seamless integration
- Dependable high-volume scaling
- Blazing fast rendering
- Save thousands