Shotstack Workflows lets you automate video creation at scale without the need to write a single line of code, allowing you to build powerful workflows to automate your video creation.
In this guide we will show you how to automate your video creation with Shotstack Workflows by using Webhooks.
https://www.loom.com/share/45f4c57686e343a4ac271f936ab312e5
Build videos at scale with Shotstack Workflows
Before we show you how to automate videos with Workflows, we’ll take you through the basics to help you familiarise yourself and understand some terms.
Trigger
All workflows begin with a Trigger. In Shotstack, you can choose between uploading a CSV or use a webhook, allowing you to start your workflow when an event occurs on a third-party marketing platform, such as a new customer signing up.
Actions
Actions are the steps that make up the workflow. Actions can be used to create, transform, enhance, generate and analyse all kinds fo media files. Actions are chained together to create a workflow.
Text-to-Speech
This is a generative AI technology that transforms text into audible speech, allowing you to add hyper-realistic voiceovers in over 30 different languages for your videos.
Automate video generation with Webhooks
Prerequisites:
- Knowing how to send and receive HTTP requests from the command line or another platform such as Hubspot or Salesforce. We suggest referring to your third-party platform’s documentation.
- Understand how to use webhooks.
Your third-party platform has to have the ability to send an HTTP POST request to Shotstack when certain events occur. Shotstack will then generate a unique request URL once you publish your workflow and you can configure your webhook to pass information to Shotstack via HTTP request body. Any data your webhook sends to Shotstack can be referenced in subsequent workflow steps.
Shotstack will create a video and send a webhook notification to your third-party platform when the video is ready. You can then automate and send an email with the video to your customers.
If this sounds too complex for you, we suggest checking out our tutorial on creating videos in bulk using CSV instead.
Step 1: Create your workflow

From the dashboard, click on Workflows on the main header. Select Create Workflow, name your Workflow and hit save.
Click on Select Trigger and choose Webhook. You will see a URL under your trigger. This is your request URL and you will need this when setting up your automation in your chosen third-party service. Keep this secure as anyone who has access to the link can trigger your workflow.
Under Sample Data, you need to specify the data you want to pass to Shotstack from your third-party service and use on your video. You need to add a key-value pair in JSON format.
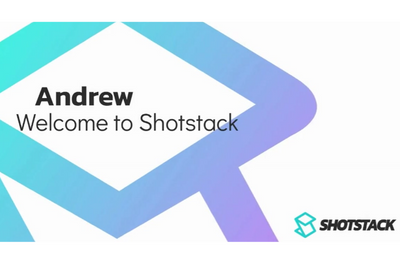
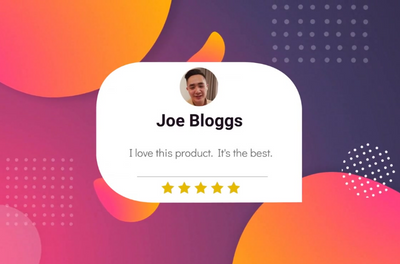
Keys can be anything from names, email addresses, and locations to recent purchases and will appear under Workflow Data once entered. Make sure that the keys match up with the data from the other platform that you’re connecting to Shotstack via your Webhook.
Step 2: Build your videos

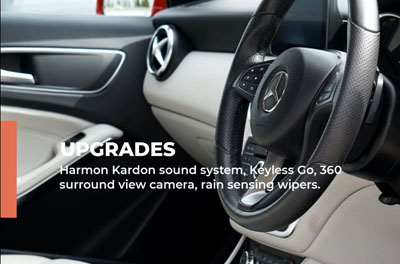
Click the plus sign to add an Action. Select Render Video Template and choose your template built via the Shotstack Studio. Make sure you map your Merge Fields in your dynamic template to the right key in your Webhook.
Step 3: Choose your preferred hosting service

Click the plus sign to add another Action. Click on Host on Shotstack and choose the video Output from the previous Action. Hit save and exit the Workflow.
Note: Shotstack’s hosting service is included in your subscription. We also have integrations with AWS S3, Google Cloud Storage and others if you prefer to use your own hosting service. These can be configured in Integrations.
Step 4: Configure your webhook in your third-party service
You can create a workflow and configure your webhook in your third-party service. We recommend checking your platform’s documentation for the exact steps.
In this example, we will use Hubspot. You can set up a workflow in HubSpot that triggers when a new contact is created. In the workflow, add a Webhook action that sends the contact data to Shotstack’s webhook endpoint.
In the same workflow, add another webhook action that receives the video URL from your video creation service and updates a custom property on the contact record. Finally, add an email action that sends an email to the contact with the video URL embedded in the email body.
Here’s how your Hubspot Workflow would look like:

Turn on your Workflow and you’re done! Whenever a new customer subscribes to your plan, the data will be passed on to Shotstack and a new video will be created, which will then be sent to the customer via email.
Ready to try it out? Sign up to get a free account.
Get started with Shotstack's video editing API in two steps:
- Sign up for free to get your API key.
- Send an API request to create your video:
curl --request POST 'https://api.shotstack.io/v1/render' \
--header 'x-api-key: YOUR_API_KEY' \
--data-raw '{
  "timeline": {
    "tracks": [
      {
        "clips": [
          {
            "asset": {
              "type": "video",
              "src": "https://shotstack-assets.s3.amazonaws.com/footage/beach-overhead.mp4"
            },
            "start": 0,
            "length": "auto"
          }
        ]
      }
    ]
  },
  "output": {
    "format": "mp4",
    "size": {
      "width": 1280,
      "height": 720
    }
  }
}'


Experience Shotstack for yourself.
- Seamless integration
- Dependable high-volume scaling
- Blazing fast rendering
- Save thousands