
 Claude
 ChatGPT
 Perplexity
 Google AI
Contents
HTML and CSS are a fast way to lay out a card, a receipt or a share image. The hard part is turning that layout into a PNG or JPG file, because a browser has to draw it first.
This guide shows how to convert HTML to an image with one API request. You send the HTML and CSS, a browser in the cloud draws the page, and you get an image file back.
The examples use Python and Shotstack’s video editing API, which renders images as well as video. The script makes three share images for blog posts, one for each row of data.
TL;DR
- Put your HTML and CSS in an
html5asset and set the outputformattopngorjpg. - Set the output
sizeand the page size in the CSS to the same pixel values. - The script below made three 1200 x 630 PNG files, each between 64 KB and 94 KB.
- The same card as a JPG was 30 KB at the default quality.
- To make one image per row of data, build the HTML in a function and send one request per row.
How HTML becomes an image
The API takes a JSON description of what to render. For an image, that description has two parts:
- A clip with an HTML5 asset. The asset holds your
htmlandcssas strings. The clip’swidthandheightset the page size in pixels. - An output.
formatispngorjpg, andsizeis the width and height of the finished image.
The page is drawn by a real browser, so flexbox, grid, CSS variables and inline SVG all work. The HTML5 asset guide lists every property.
This is the whole request for a “Hello” image:
{
  "timeline": {
    "tracks": [
      {
        "clips": [
          {
            "asset": {
              "type": "html5",
              "html": "<h1>Hello</h1>",
              "css": "html,body{margin:0;width:1200px;height:630px;background:#fff}"
            },
            "start": 0,
            "length": 1,
            "width": 1200,
            "height": 630
          }
        ]
      }
    ]
  },
  "output": { "format": "png", "size": { "width": 1200, "height": 630 } }
}
Convert HTML to PNG with Python
The script below makes a share image for each of three blog posts. This is the image that social networks and chat apps show when someone pastes a link.
The size is 1200 x 630 pixels. Meta’s guide to images in link shares says: “Use images that are at least 1200 x 630 pixels for the best display on high resolution devices.”
The script uses only the Python standard library. Set SHOTSTACK_API_KEY to the API key from your Shotstack dashboard, then run it with Python 3. Each render uses credits from your plan, as listed on the pricing page.
import html
import json
import os
import sys
import time
import urllib.error
import urllib.request

API = "https://api.shotstack.io/edit/v1"
WIDTH, HEIGHT = 1200, 630
FORMAT = "png"  # "png" or "jpg"
POSTS = [
    {
        "slug": "sourdough-starter",
        "tag": "Baking",
        "title": "How to keep a sourdough starter alive",
        "author": "Priya Nair",
        "date": "12 Nov 2026",
        "color": "#c2410c",
    },
    {
        "slug": "balcony-tomatoes",
        "tag": "Gardening",
        "title": "Grow tomatoes on a balcony that gets four hours of sun",
        "author": "Tom Okafor",
        "date": "9 Nov 2026",
        "color": "#15803d",
    },
    {
        "slug": "bike-chain",
        "tag": "Cycling",
        "title": "Clean a bike chain in ten minutes",
        "author": "Mei Tanaka",
        "date": "3 Nov 2026",
        "color": "#1d4ed8",
    },
]

CSS = f"""html,body{{margin:0;padding:0;width:{WIDTH}px;height:{HEIGHT}px;overflow:hidden}}
body{{background:#faf7f2;color:#1c1917;font-family:Arial,sans-serif}}
.card{{box-sizing:border-box;width:{WIDTH}px;height:{HEIGHT}px;padding:64px 72px;
display:flex;flex-direction:column;border-left:24px solid var(--accent)}}
.tag{{font-size:26px;font-weight:bold;letter-spacing:4px;text-transform:uppercase;
color:var(--accent)}}
h1{{font-family:Georgia,serif;font-size:76px;font-weight:normal;line-height:1.12;
margin:28px 0 0}}
.meta{{margin-top:auto;display:flex;align-items:center;font-size:30px;color:#57534e}}
.badge{{width:64px;height:64px;border-radius:50%;background:var(--accent);color:#fff;
display:flex;align-items:center;justify-content:center;font-weight:bold;
margin-right:20px}}
.site{{margin-left:auto;font-weight:bold;color:#1c1917}}"""


def call(url, body=None):
    data = json.dumps(body).encode() if body is not None else None
    headers = {
        "x-api-key": os.environ["SHOTSTACK_API_KEY"],
        "Content-Type": "application/json",
    }
    try:
        request = urllib.request.Request(url, data, headers)
        with urllib.request.urlopen(request) as response:
            return json.load(response)
    except urllib.error.HTTPError as error:
        sys.exit(f"HTTP {error.code}: {' '.join(error.read().decode().split())[:300]}")


def page(post):
    """Return the HTML for one card. Escape every value that comes from data."""
    initials = "".join(word[0] for word in post["author"].split())
    return (
        f'<div class="card" style="--accent:{post["color"]}">'
        f'<div class="tag">{html.escape(post["tag"])}</div>'
        f"<h1>{html.escape(post['title'])}</h1>"
        f'<div class="meta"><div class="badge">{html.escape(initials)}</div>'
        f"<div>{html.escape(post['author'])} · {html.escape(post['date'])}</div>"
        '<div class="site">fieldnotes.example</div></div></div>'
    )


def build_edit(post):
    clip = {
        "asset": {"type": "html5", "html": page(post), "css": CSS},
        "start": 0,
        "length": 1,
        "width": WIDTH,
        "height": HEIGHT,
    }
    return {
        "timeline": {"tracks": [{"clips": [clip]}]},
        "output": {"format": FORMAT, "size": {"width": WIDTH, "height": HEIGHT}},
    }


def render(edit):
    render_id = call(f"{API}/render", edit)["response"]["id"]
    while True:
        time.sleep(3)
        status = call(f"{API}/render/{render_id}")["response"]
        if status["status"] == "done":
            return render_id, status["url"]
        if status["status"] == "failed":
            sys.exit(f"Render {render_id} failed: {status.get('error')}")


if __name__ == "__main__":
    if not os.environ.get("SHOTSTACK_API_KEY"):
        sys.exit("Set SHOTSTACK_API_KEY first.")
    for post in POSTS:
        render_id, url = render(build_edit(post))
        filename = f"{post['slug']}.{FORMAT}"
        urllib.request.urlretrieve(url, filename)
        size = os.path.getsize(filename) / 1024
        print(f"{filename:24} {size:6.1f} KB  render {render_id}")
Run python html_to_image.py. It saves one image per post in the current folder and prints the file name, the file size and the render ID:
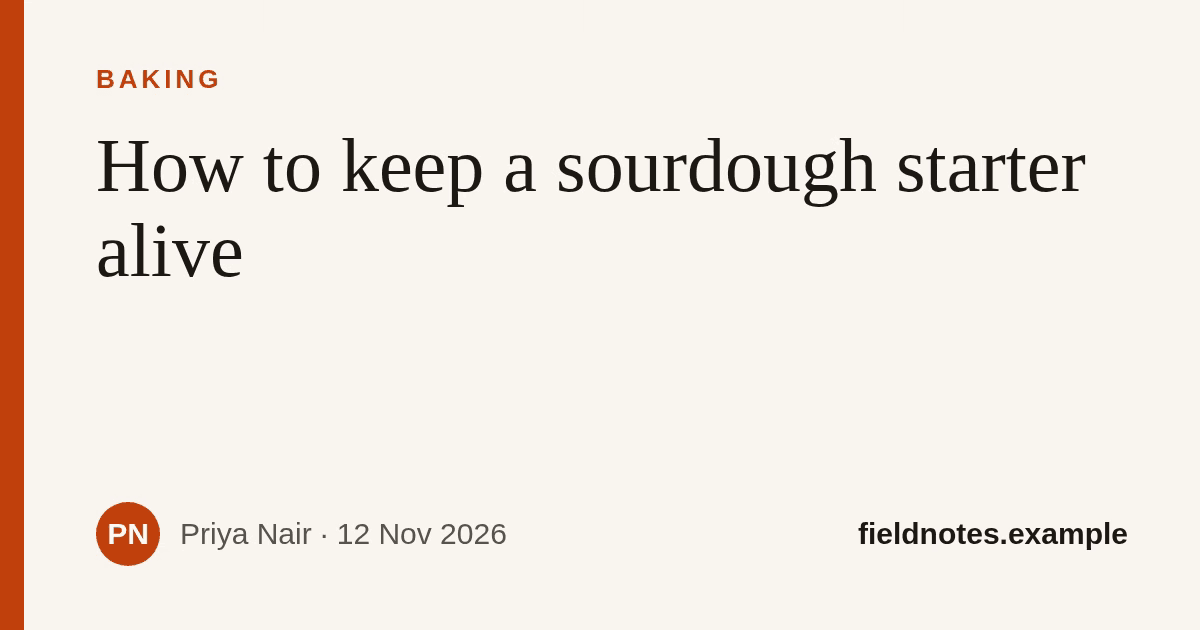
sourdough-starter.png      72.9 KB  render df9fc56c-7d6d-4d32-9482-52c715257e0f
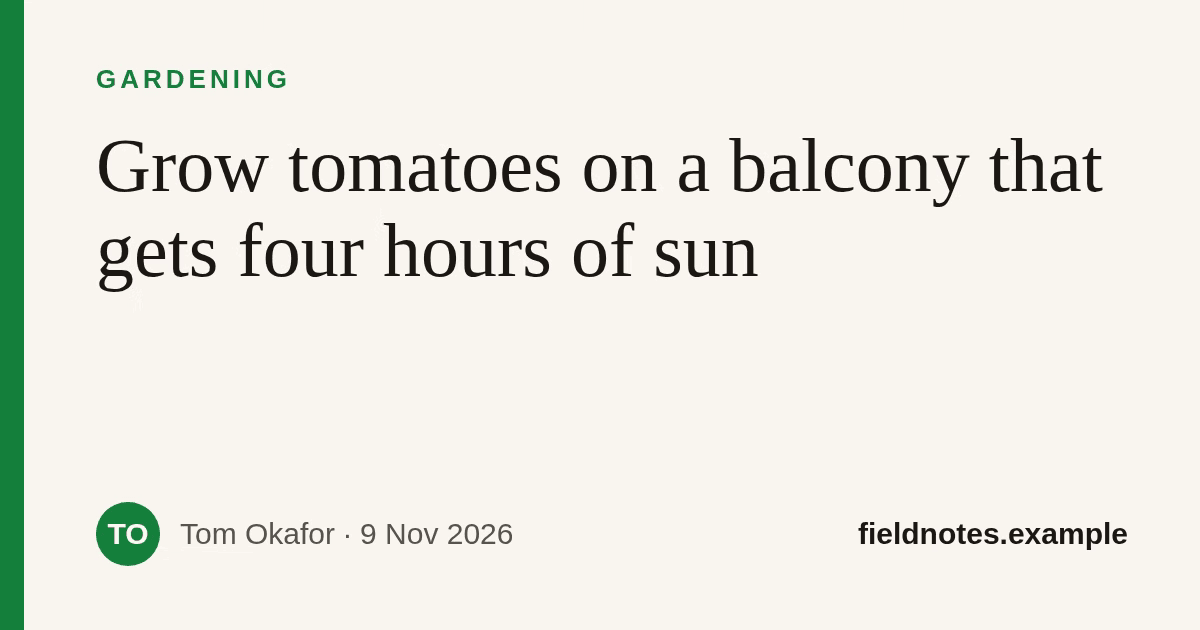
balcony-tomatoes.png       93.6 KB  render 1855e48f-24f6-451f-8984-b24a6967aaa4
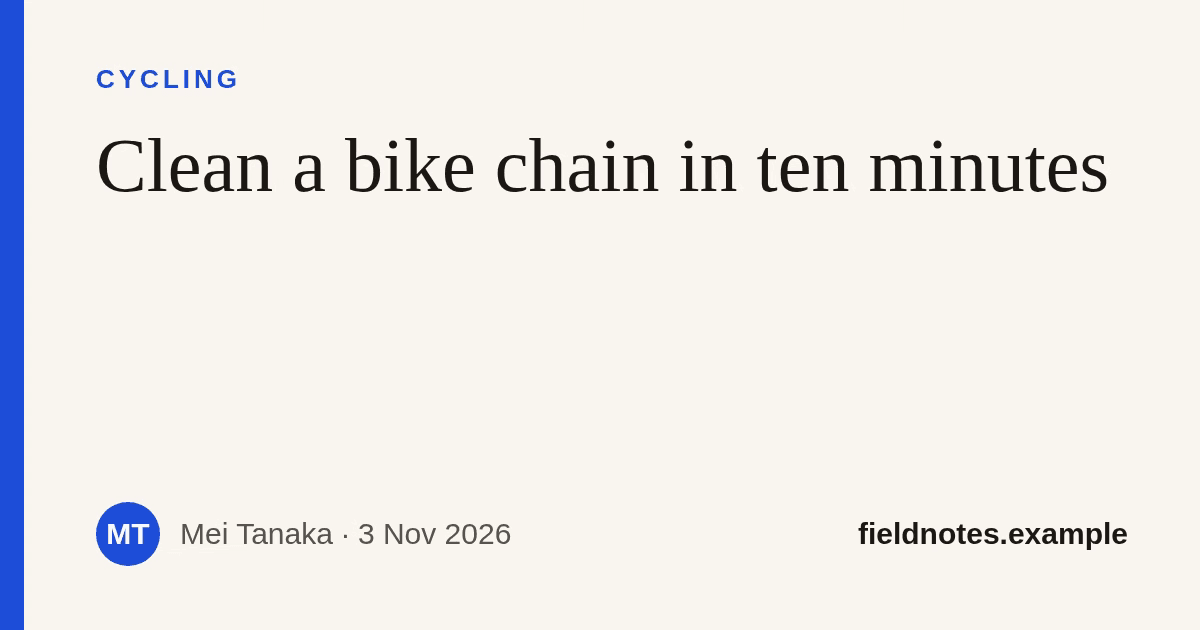
bike-chain.png             63.7 KB  render bb5b728e-ab9b-45a8-a7e8-1cfb6a9ed551
These are the three images from that run:
How the script works
POSTSis the data. Each row has the text for one image and an accent color.CSSis one stylesheet for every card. The first line pinshtmlandbodyto 1200 x 630 pixels, the same numbers asWIDTHandHEIGHT.page()builds the HTML for one row. It passes each piece of text throughhtml.escape(), so a title with<or&in it can’t break the page.build_edit()wraps the page in anhtml5asset and sets the output format and size.render()posts the edit, then checks the render every three seconds until its status isdone.- The last loop downloads each image and names it after the post’s
slug.
The accent color reaches the CSS through a variable. page() sets --accent on the card, and the stripe, the tag and the badge all read it. One stylesheet then serves every row.
PNG or JPG
Change FORMAT to "jpg" to get JPG files. JPG output also takes a quality setting in output. We rendered the sourdough card four ways to compare the file sizes:
| Output | File size |
|---|---|
| PNG | 72.9 KB |
JPG, quality set to low | 24.7 KB |
| JPG, default quality | 29.9 KB |
JPG, quality set to high | 42.3 KB |
All four files were 1200 x 630 pixels.
Pick PNG when the image is mostly text, flat color and sharp edges, because PNG stores every pixel exactly. Pick JPG when the file size matters more, such as images in an email.
Write HTML that renders the way you expect
The page is drawn at a fixed size with no network access, so everything the page needs travels inside the request. Four habits keep the image predictable:
- Use pixel values. Set
htmlandbodyto the clip’s width and height, withmargin: 0,padding: 0andoverflow: hidden. Size everything inside inpx. - Pick fonts the browser has. System families such as
Arial,Georgiaandsystem-uiwork with no setup. For a brand font, embed the file in the CSS as a base64data:URL inside@font-face. - Embed images. Put logos and photos in the page as
data:URIs or as inline SVG. - Draw with HTML elements or SVG. Build charts and shapes from positioned elements or SVG, so each part of the picture is in the page itself.
If you leave the page background unset, the image gets a black background. Set a background on body or on your outer element.
Change the image size
To make a different size, change WIDTH and HEIGHT and adjust the font sizes and padding in the CSS to suit.
To make the same design larger, scale the page with CSS. We rendered the card at 1920 x 1008 pixels two ways and compared the text edges:
| Method | Result |
|---|---|
Page set to 1920 x 1008, with zoom: 1.6 on .card | Sharp text |
Page left at 1200 x 630, with scale set to 1.6 on the clip | Soft text |
With zoom, the browser draws the text again at the larger size. The clip’s scale enlarges the picture after the browser has drawn it, so the edges of the text get softer.
Turn your HTML into images with Shotstack
You now have a script that turns HTML and CSS into PNG or JPG files, one per row of data. Replace POSTS with your own rows, edit page() and CSS to match your design, and run it again.
The same HTML can move, too. Our guide on how to convert an HTML animation to MP4 uses the same asset to render video.
Create a free Shotstack account to get your API key and render your first image.
Frequently asked questions (FAQs)
What size should a share image be?
Meta recommends at least 1200 x 630 pixels. Its guide gives 600 x 315 pixels as the minimum for a large preview, and it recommends that you “keep your images as close to 1.91:1 aspect ratio as possible”. 1200 x 630 has that ratio.
Can I make hundreds of images from a spreadsheet?
Yes. Read the rows with Python’s csv module in place of the POSTS list and keep the rest of the script. Our guide on how to bulk create videos from a CSV shows the same loop for video.
Can I keep the HTML in one place and only send the data?
Yes. The html string supports merge fields such as {{title}}. You write the page once with placeholders, then send a merge array of find and replace values with each request. The merge fields guide explains the format.
Can I put a photo behind the HTML?
Yes. Add a second track under the HTML clip with an image asset, and leave the page background unset. The page is transparent wherever it has no background, so the photo shows through. We tested this with a photo under a card that had text and no background, and the PNG showed both.
Where do the image files live after the render?
The script downloads each file to your machine as soon as its render is done. To send every image straight to your own storage, add a destination to the output. The S3 destination guide shows the settings for an Amazon S3 bucket.

Written by
Jesus Rojas is a Growth Engineer at Shotstack, combining engineering and experimentation to help developers adopt video APIs. He builds onboarding experiences, lifecycle automation and analytics. Outside work, he enjoys making music and plays several instruments.
Published November 16, 2026